
New Viewport (Make Viewport)
Updated on: March 12, 2024
Quick video

- Land F/X Viewports vs. AutoCAD Layout Viewports
- Before Creating a Viewport: Save a Layer State (Optional)
- New Viewport Overview
- Making a Clipped Viewport
- Make Some Objects Visible Around the Perimeter of a Viewpoint
- Selecting a Viewport Within a Viewport
- Troubleshooting
Our New Viewport tool provides a quick way to isolate a region of your drawing, making only that portion visible. This tool creates a clipped Viewport within a custom polyline boundary that you can draw to your exact specifications. The clipped Viewport will be the only object in your site design that displays the layers of the current drawing. Outside the Viewport, all layers in the current drawing will be automatically frozen, and only the Xref layers will be visible.
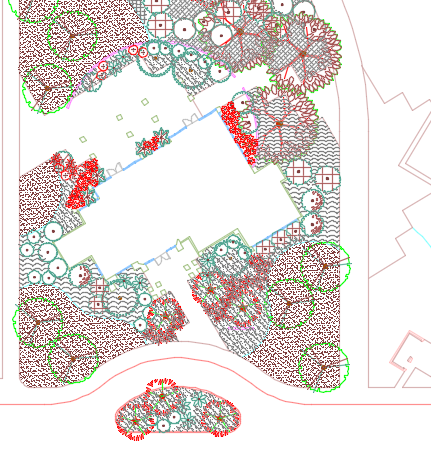
For example, you may want to isolate an area in your drawing that contains a patio, clipping the edges of the plants that extend beyond the edges of the patio. In this case, you would use New Viewpoint to select a closed polyline area that you draw around the perimeter of the patio using our Work Area tool. Here's an example of a clipped Viewport (that is, a Viewport drawn to your specs, rather than simply a rectangle).

Land F/X Viewports vs. AutoCAD Layout Viewports
We named this tool New Viewport because it results in an isolated portion of your drawing that behaves similarly to an AutoCAD layout viewport – a window within a Paper Space layout that shows a view of the Model Space portion of your drawing in a particular scale. It's important to note that our New Viewport tool results in a different type of viewport from a standard layout viewport.
If you're just looking for a way to create a standard AutoCAD viewport in Paper Space, that's a different process. To do so, type MV in the Command line while in Paper Space, and press Enter. Then draw your viewport. More about layout viewports
Before Creating a Viewport: Save a Layer State (Optional)
If you've made manual changes to the layers within a Work Area, you'll want to save those changes as a Layer State before you turn that Work Area into a Viewport. Our New Viewport tool is designed to make automatic changes to layers within the selected Work Area, meaning it will wipe out any manual changes you make to the layers.
Once you've saved your Layer State, you can safely create a new Viewport. You can then load your Layer State, reinstating the manual layer changes you made.
If you haven't made any manual changes to the layers in your Work Area, you won't need to save a Layer State before creating a Viewport.
New Viewport Overview
You'll need to create a Work Area in Model Space before you can create a Viewport. For information on creating Work Areas, see our Work Areas documentation.
Open the New Viewport tool:

F/X Admin ribbon, New Viewport button
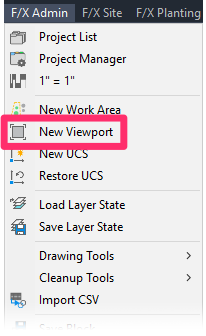
F/X Admin pull-down menu
or type FX_MakeViewport in the Command line
Making a Clipped Viewport
Before you can create a Viewport, you must first create a Work Area in Model Space using our Work Area tool. When you create this Work Area, you will draw an enclosed polyline that will form the exact boundary of your clipped Viewport.
In this example, we'll create a Work Area – and then a Viewport – from an area within the drawing pictured to the right.
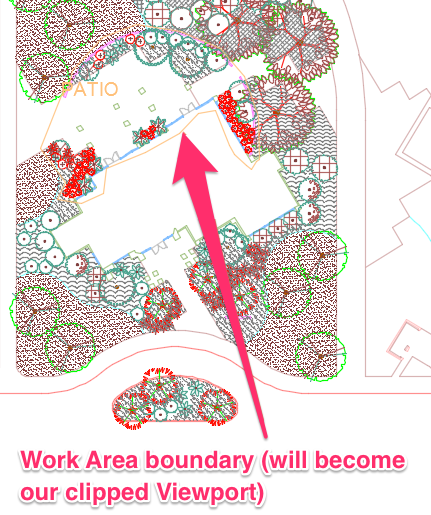
First, open the Work Area tool while in Model Space, and draw a polyline boundary.
In the example to the left (shown in Paper Space for easier viewing), we've drawn our Work Area and given it the name PATIO.
Once you've drawn your polyline, double-click in Paper Space to make it active. Select the New Viewport tool as described above in the Overview section.
The cursor will turn into a pickbox, and the Command line will prompt you to Select Work Area. Click the boundary line of your Work Area. The Work Area will be transformed into your clipped Viewport, isolating it from its surroundings.
Your Viewport will now be the only region in your site design that contains the layers of the current drawing. The only other layers that are now visible are the layers from the Xrefs.
Make Some Objects Visible Around the Perimeter of a Viewpoint
You may want to make objects visible around the perimeter of a Viewport. In our example, we may want to see the trees that are planted around our patio but are not contained within the Viewport.
In this case, you can simply unfreeze the layers you want to see. In our example, we'll locate and unfreeze the tree layers.
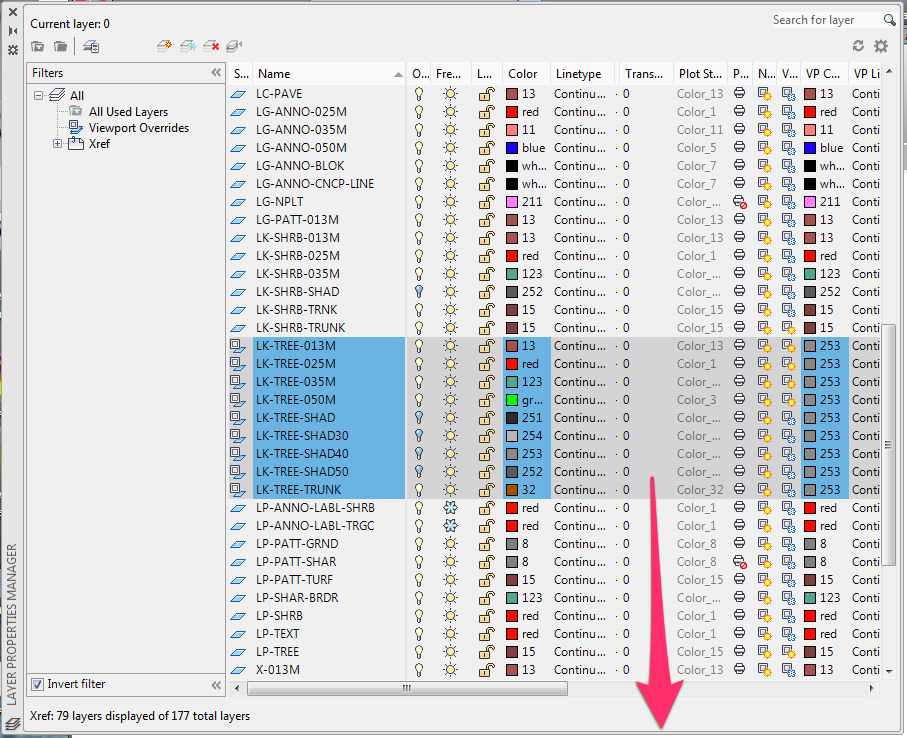

Don't know how to freeze or unfreeze layers? Here's how.
If we were to plot this Viewport, it would look like this:
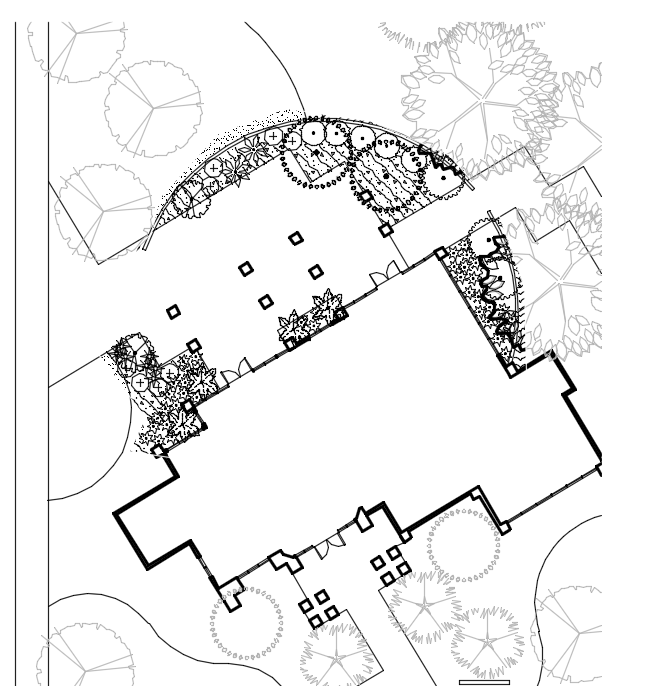
If you want, you can also change the colors to these layers, as well as add transparency, in order to match the objects on the fringes to the rest of your viewport.
Selecting a Viewport Within a Viewport
Need to select a viewport within a viewport? Here's how.
Troubleshooting
Issue: The area shown within one of my Viewports has disappeared
Issue: After using the New Viewport tool, you are unable to select a viewport within another viewport.