Clone Equipment in CAD
Updated on: July 07, 2025

Use our Clone Equipment tool (formerly known as Match Equipment) to grab the symbol and data assigned to one component in CAD (such as a head or valve) and then copy that component, along with all its data, into other locations in your drawing. In this way, you can place equipment quickly without having to open the Irrigation Manager.
Clone Equipment Overview
Clone Equipment now allows you to select drip area hatches and Schematic areas, as well as non-irrigation items such as Spot Elevations, Slope Callouts and Areas, and Detail Callouts.
Open the Clone Equipment tool:
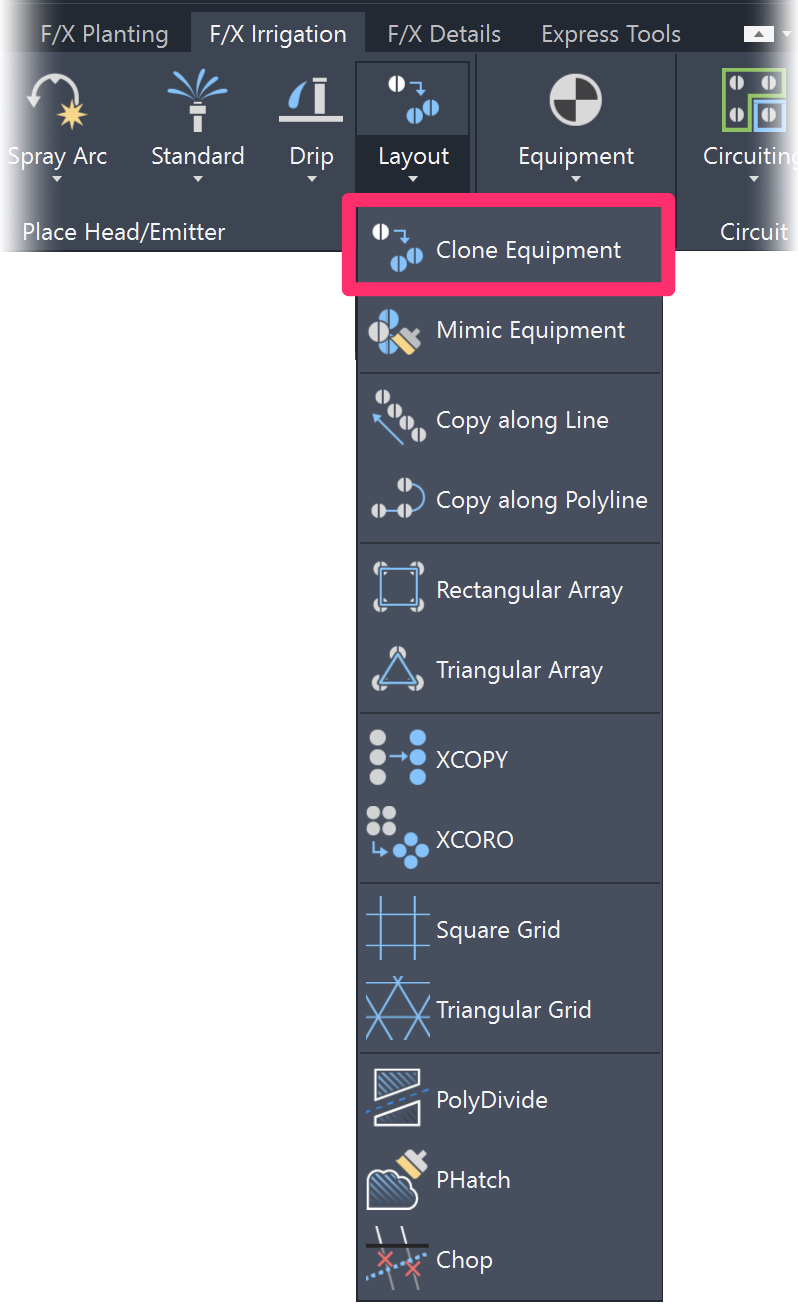
F/X Irrigation ribbon, Clone Equipment flyout
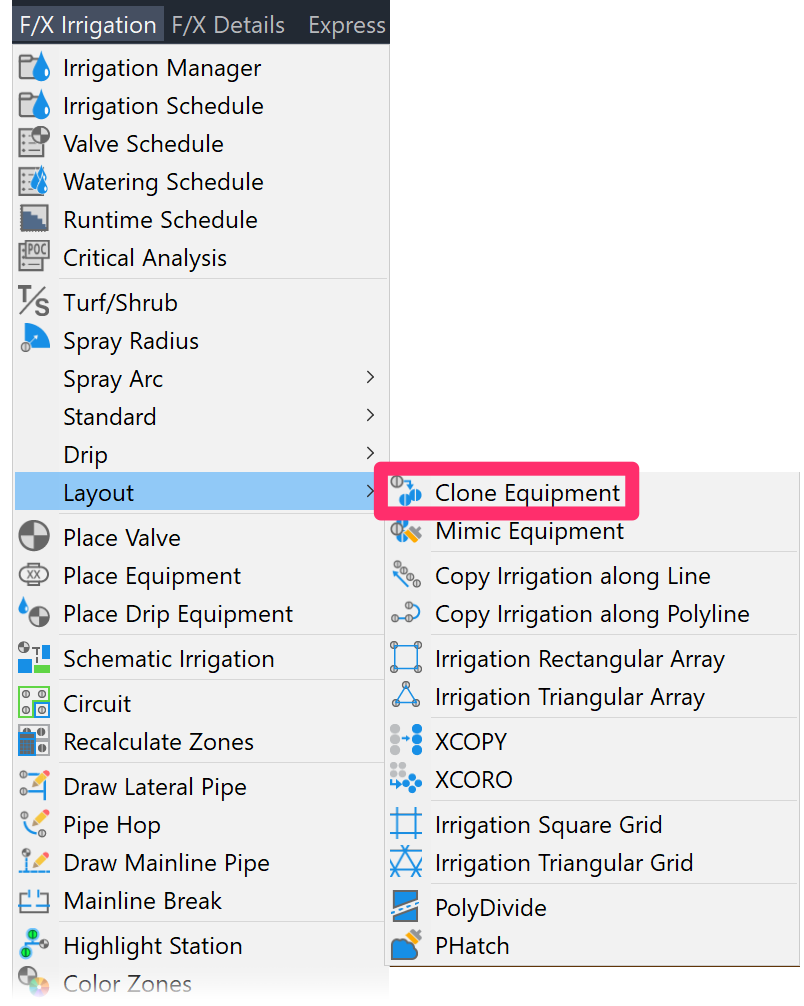
F/X Irrigation menu, Clone Equipment option
or type FX_CloneEquip in the Command line
Select any component you've already placed in your drawing. You'll be prompted to place additional instances of that component, just as if you selected it manually.
Note that if you select a head and pick a fixed arc, you'll place that arc and radius head, but you'll have a chance to redefine the new head arc direction. If you select an adjustable arc head, whether spray or rotor, you'll have the chance to redefine the arc pattern for the new head.
Keyboard Commands for Clone Equipment
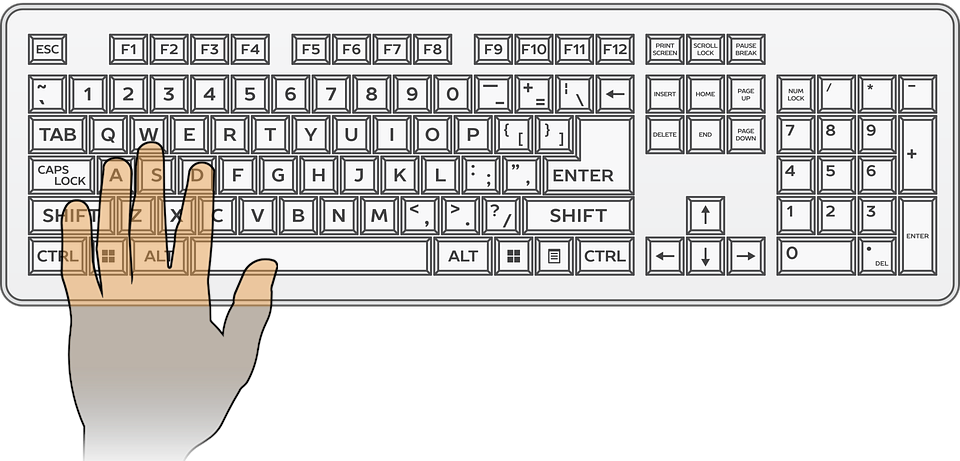
With Clone Equipment active, you can press K on your keyboard to display a list of keyboard commands (pictured to the right).
These are the same keyboard commands you can use when placing heads.

- Resize radius as percent or distance: ~`
- Toggle spray type: T
- Toggle to a different model: 1–0
- Change equipment category: Y
- Previous (smaller) radius: Q
- Previous (smaller) nozzle: Tab
- Maximum radius adjustment: W
- Undo arc: U
- Radius adjustment +5%: D
- Copy along Polyline: C
- Set a crosshair angle (Xhair Angle): X
- Next (larger) radius: E
- Next (larger) nozzle: R
- Minimum radius adjustment: S
- Radius adjustment -5%: A
- Copy along Line: V
Remember to keep your left hand on the W-A-S-D keys, which will make it easy for you to begin tapping all these keyboard commands from memory.
The A and D keys toggle you "left" (decrease the radius) and "right" (increase the radius) respectively, and the rest of the commands are assigned intuititively to the surrounding keys. Soon, it will feel automatic!