
Center Pivot Irrigation
Updated on: April 22, 2024
Invented in 1948, Center Pivot Irrigation has grown to become the backbone of the food production industry. Surprisingly, design of this widely used agricultural irrigation technique tends to be carried out in the same way as it was back then: with pencil-and-paper drawings and manual calculations. Irrigation brings Center Pivot Irrigation into the 21st century. Our Center Pivot Irrigation tool offers an intuitive interface and automatic calculations of factors such as precip rates and run times.
Adding and Placing Center Pivot Areas
Open our Center Pivot Irrigation tool:

F/X Irrigation ribbon, Center Pivot flyout
Type CenterPivot in the Command line
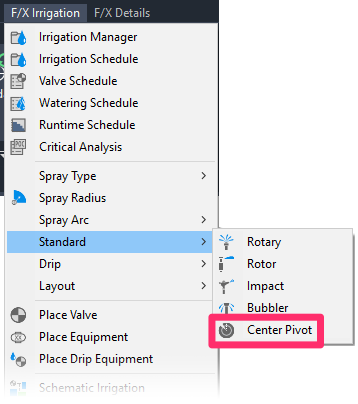
F/X Irrigation menu, Center Pivot option

The Select Manufacturer dialog box will open.
Click to select a Center Pivot manufacturer.
The Select Series dialog box will open.
Click to select Center Pivot series offered by the manufacturer you chose.

The Center Pivot dialog box will open, allowing you to configure and place each Center Pivot area you need for your site.

1. The manufacturer and series you selected will be listed in the Model menu. You can click the ... button to the right to select a different manufacturer and/or series.
2. Assign a Number to your Center Pivot system.
3. Use these menus to configure the span of your Center Pivot system.
4. Select a Span Model and Span Length.
5. Enter a Total Distance for the length of your spray arc. The Area (in square feet or meters) of your coverage arc will be pre-calculated based on the settings you provide and the arc pattern you set. You can change this number as needed.
6. Enter your desired Precip Rate (in inches or centimeters per hour). The rest of the data will calculate automatically based on the rate you set.
7. The Run Time in hours required for the Precip Rate you've set.
8. The End Tower Speed (in feet or meters per minute) required for your Precip Rate and Run Time.
9. The Flow rate (in GPM or MPM) required for your other settings.
10. The Pressure Required based on your other settings.
Automatic calculations figure heavily into our Center Pivot Irrigation tool. Each of the entries in the Center Pivot dialog box will depend on the values you've set for the others. As you change one value and then another, you'll notice the other values changing to meet the needs of each requirement you set for your system. Play around with these numbers until you reach the exact setting you need.
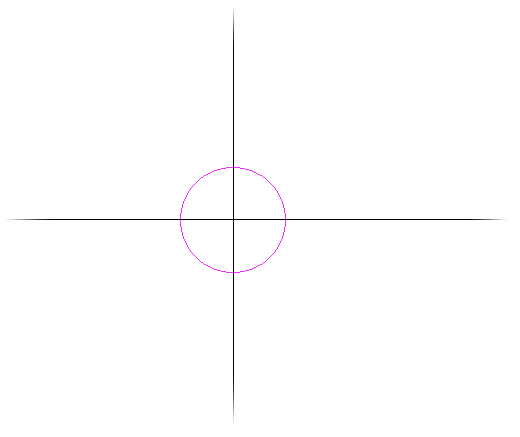
The Center Pivot system you selected will now appear at the AutoCAD crosshairs.
Click to place it in your drawing.
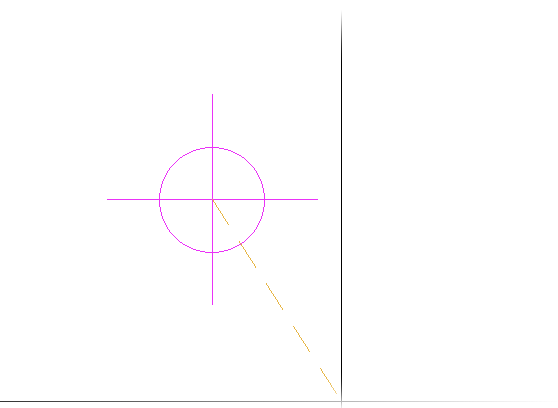
Click the first point of the spray arc you want to place.
Then click a second point for your spray arc.

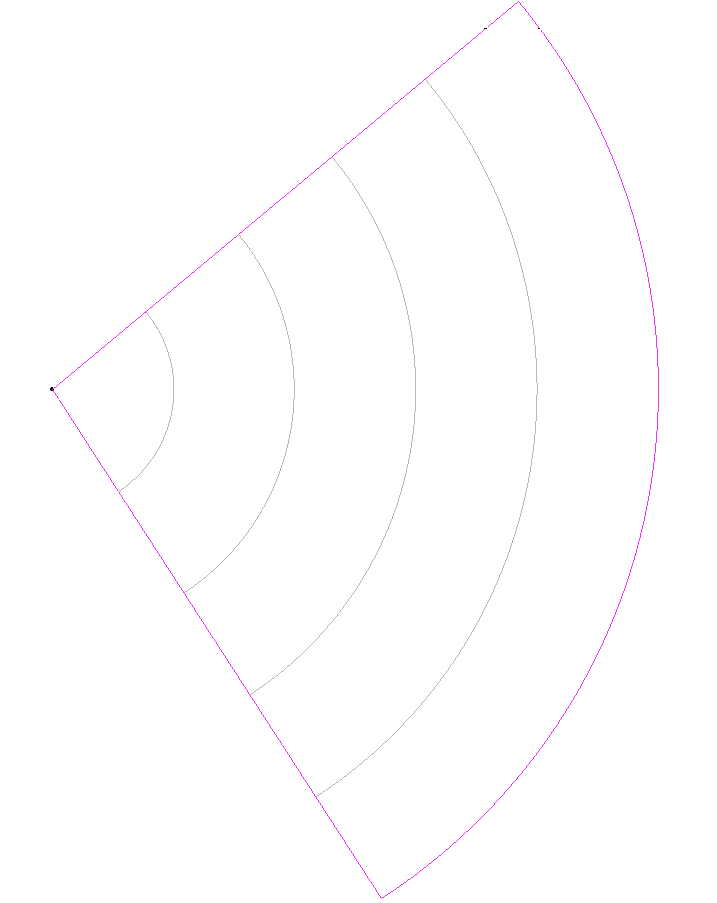
Your Center Pivot system will appear in your drawing, with the spray arc you selected.
Related Webinars
- Center Pivot Design: Land F/X CEO and head developer Jeremiah Farmer shows off our Center Pivot irrigation tool, which automates this technique that's become no less than a mainstay of feeding the planet since its inception in 1948. (1 hr 6 min)