
Adding to Existing Irrigation Systems
Updated on: March 19, 2025
Quick video

- Adding a Cap from Existing System to Your Project
- Placing a Cap from Existing System in Your Drawing
- Cap from Existing System and the Irrigation Schedule
- Cap from Existing System and Plotting
- Creating a Custom Symbol Family for Existing Equipment
- Related Webinars
Irrigation designers often find themselves adding on sites that already include an irrigation system. Our Auxiliary Equipment database includes a valuable component – a cap from existing system – that helps retrofit or expand an existing irrigation system without the tedium of re-creating it.
A cap for existing system will represent flow and pressure demands that currently exist, and will also affect the mainline or lateral line pipe sizing. The symbol for an existing cap is placed with a non-plot layer, as most users would like the demand calculated but would not see the cap's symbol when plotting.
You can include as many caps as you need in your design. Caps can be placed on either lateral or mainline pipe.
Important note about caps:
A cap represents a demand – not a water source. If you use caps in your design, you'll still need to add and place a water source or point of connection (POC).
Looking for a way to account for future demands in your system design? Use a cap for future use.
Adding a Cap from Existing System to Your Project
You'll add a cap from existing system as you would add any other equipment – from the Irrigation Manager. Open the Irrigation Manager:

F/X Irrigation ribbon, Irrigation button
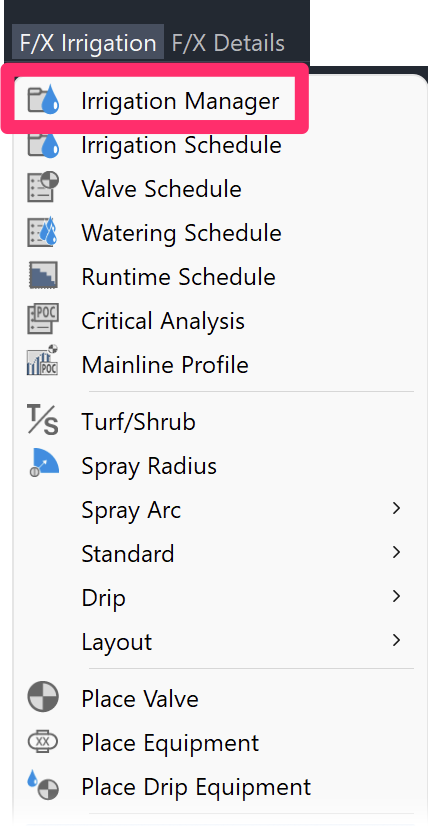
F/X Irrigation menu, Irrigation Manager option
or type ProjectIrrigation in the Command line
In the Irrigation Manager, select the Auxiliary Equipment option.
Click New, and select Cap from the list of equipment.

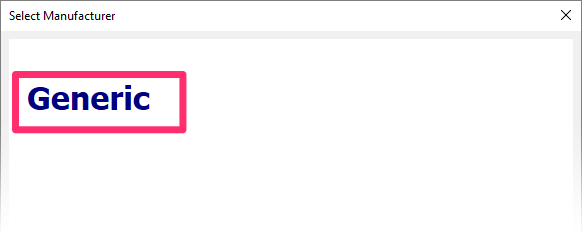
The Select Manufacturer dialog box will open.
Select Generic.
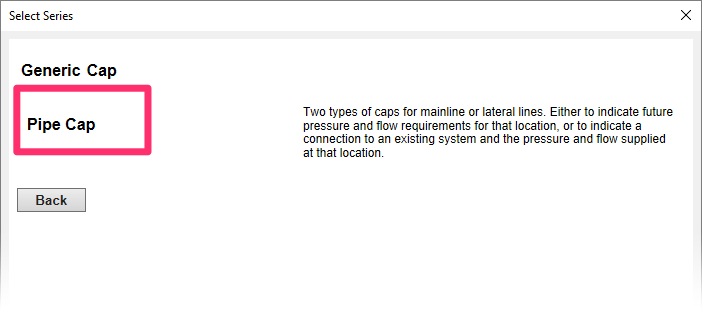
In the Select Series dialog box, select Pipe Cap.
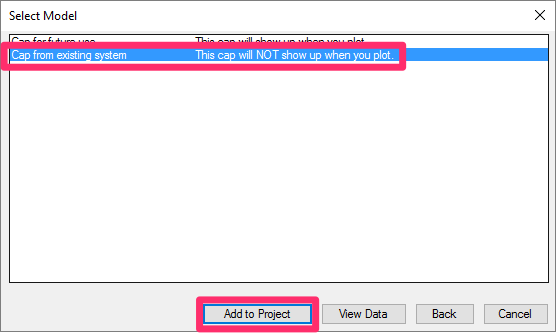
In the Select Model dialog box, select Cap from existing system.
Then click Add to Project.
When you place a cap from existing system in your drawing, it will go on a non-plot layer, meaning it will not be visible in your design when you plot.
The Cap for from existing system will now be available in the Irrigation Manager.

Placing a Cap from Existing System in Your Drawing

To place the cap in your drawing, select Cap from existing system in the Irrigation Manager, and click Place.
You'll now see the cap symbol at the cursor crosshairs.
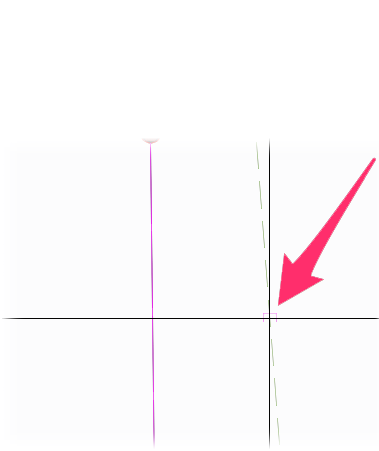
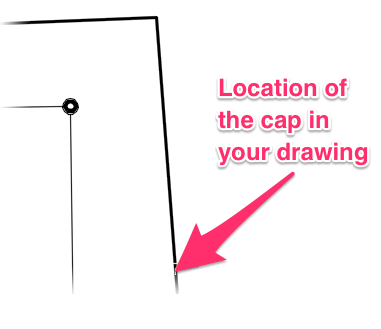
Click a location on either your mainline or lateral piping where you want to place the cap.
You'll now be prompted to specify the flow and pressure demands for the cap – in actuality, the demands of the existing portion of the system.
First, enter the estimated flow rate for the cap and click OK (example: 160 GPM).


Then enter the pressure demand for the cap and click OK (example: 100 PSI).
You'll be estimating the current flow and pressure required at this cap. Calculate your estimates with realistic values that closely represent the actual situation.
Need help determining a cap's pressure and flow demands? Use our Schematic Irrigation tool to create a Schematic Zone composed of the existing equipment. You can then plug the pressure and flow demands of the Zone into your cap.
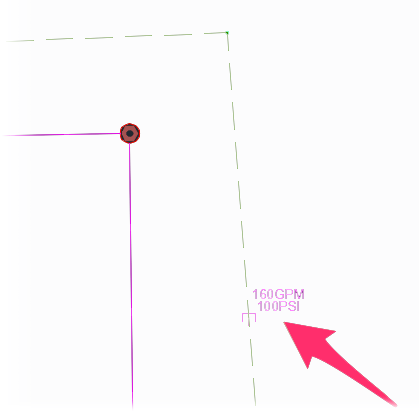
Once you enter the flow and pressure demands, the cap will appear in your drawing, labeled with the demands.
Cap from Existing System and the Irrigation Schedule
When you run an Irrigation Schedule, the cap from existing system will be included, along with the note "Connection to an existing mainline or lateral line system. Connect from this point for new work. Contractor to verify location of cap prior to start of work."

Removing Caps from the Irrigation Schedule
The easiest way to prevent a cap from showing up on the Irrigation Schedule is to delete it from the Irrigation Manager. The Size Mainline tool will still count its demand; only the schedule will be affected.
As an extra precaution, we recommend placing a cap off to the side. If you need another cap later, you can just copy that extra cap and change its attribute values rather than having to add it back to the project.
Cap from Existing System and Plotting
Any cap from existing system placed in your drawing will be on a non-plot layer. When you plot your design, it will not show up.
Creating a Custom Symbol Family for Existing Equipment
When designing for an existing system, you may want to give the already-installed equiment some extra visual separation from the proposed irrigation on your plan. Here's how.
Related Webinars
- Existing Irrigation: Learn the techniques, tools, and tricks you'll need to expand an existing system, including how to use a pipe cap to account for existing flow and add new valves to an existing mainline. (56 min)
- Irrigation Tools – What You Need to Know: We'll show you the ins and outs of basic irrigation setup using our software. You'll also learn the essentials of placing equipment such as drip, sprays, and rotors. (1 hr 6 min)
- Irrigation Tips & Tricks: We'll show you some advanced tools you may or may not know about. You'll also learn techniques and best practices that will help speed up your workflow. (1 hr 3 min)
- Advanced Irrigation Troubleshooting: Learn to think like a Land F/X irrigation troubleshooter. We'll show you why your symbols don't match, why you would see the message "Error accessing equipment data" (and how to fix these issues, as well as tips on pressure losses and precip rates, pipe caps, system monitors, and flow zones. (1 hr 3 min)