
Railing
Updated on: May 29, 2026
Quick video

Our Railing tool allows you to place a linear graphic in your drawing that represents (and resembles) a specific railing, fence, or wall structure.
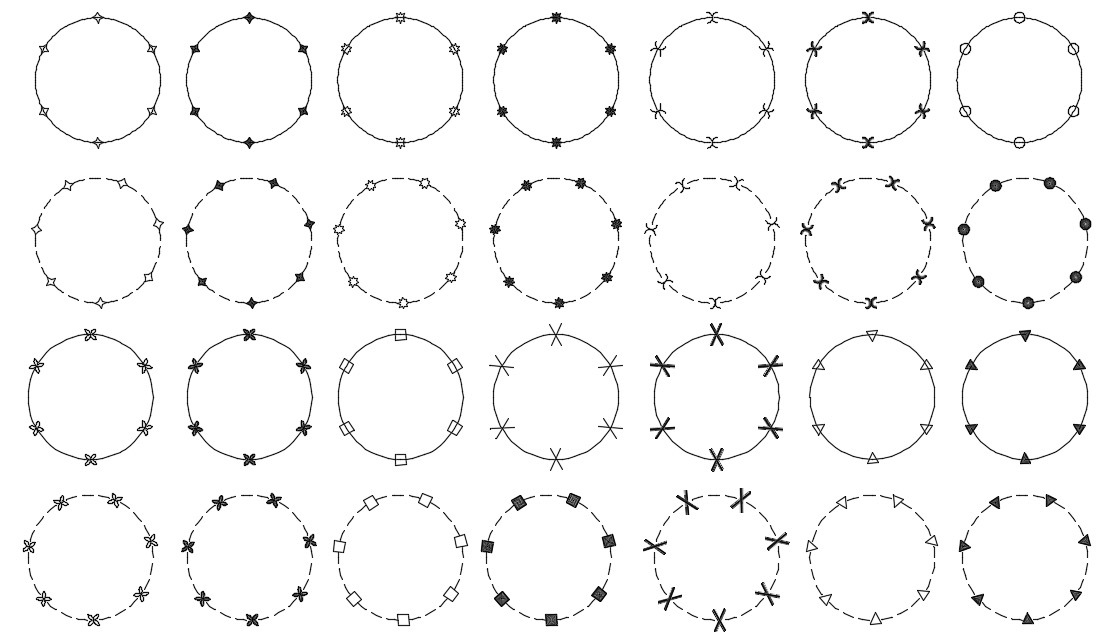
The options for these railing lines are:
Railing:
- Single Line, Solid, Circle Fill (previously Planter/Queue Rail)
- Single Line, Solid, Square Fill (previously Guard Barrier Rail)
- Single Line, Dashed, Circle (previously Removable Stanchions with Chain)
- Handrail
Fences
- Single Line, Dashed, Strike (previously Chainlink Fence)
- Double (previously Wood Screen Fence)
- Picket (previously Metal Screen Fence)
Walls
- Wall, Solid (previously Freestanding/Seat Wall)
- Wall, Dashed (previously Retaining Wall)
We offer several additional post style options for the Single Line railing style. You can explore the options and choose one that best fits your design's needs.
We've updated our Railing tool as of May 2026 to allow for better overall functionality and integration with Reference Notes (RefNotes).

Old Rails dialog box

Updated Rails/Walls/Fences dialog box
You can draw railing as needed, or select existing linework to convert it. The Railing tool will work with polylines or polygons, but not with lines, circles, ellipses, or splines. Once you open the Railing tool, you'll select a polyline or polygon to replace it with one of our railing types.
Railing Tool Overview
Open the Railing tool:

F/X Site ribbon, Railing flyout
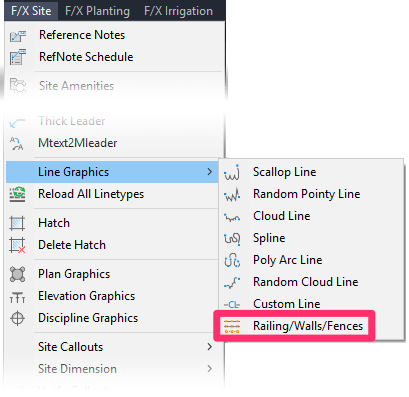
F/X Site menu, Railing flyout
or type Railing in the Command line
The Railing/Walls/Fence dialog box will open, allowing you to configure your desired graphic that will represent your railing, wall, or fence.

1. Select a Style for your railing (Single Line, Handrail, Double, Picket, or Wall).
2. Before placing your selected railing style in your drawing, use the Preview to view what your graphic will look like.
3. Select a Linetype for your railing (Solid or Dashed).
4. Additional options for configuring your railing (Post style, Post Size, and Segment Length – if applicable).
Click OK when finished configuring your railing. The Command line will then prompt you to Select polyline, or [Draw]:
Select an existing polyline in your drawing convert it to your chosen railing/wall/fence, or type D to activate draw mode and draw your railing on the fly.
When placed directly from the Railing tool, railing graphics will be placed on the current layer.
Here are some examples of placed railings:
Editing Railing
Changing Railing Styles
To change the style of a railing in your drawing, use our Edit Object tool:

F/X Site ribbon, Edit Object option
Type FX_ObjInfo in the Command line

F/X Site menu, Edit Object option
Then select a railing to edit. If prompted in the Command line, press Enter to begin editing the railing.
The Railing/Walls/Fences dialog box will open, and you can make your desired changes to the railing's settings.
Click OK to apply your changes.
Editing Railing Block Layouts
You may notice that some of our railing styles convert normal polylines into blocks.

If you need to make changes to a particular layout for one of the railings in your drawing that use this style, you'll first need to revert it to a polyline.
To do so, open our Edit Object tool. Then, with the tool active, select the railing block you want to edit.
Type R to revert the railing to a polyline.
You'll then be able to adjust the railing's layout as needed, join it with other polylines, trim it, etc.
Finally, you’ll need to reapply the railing to this polyline by replacing it onto this polyline using the Railing tool.
Railings and Reference Notes (RefNotes)
Our Railing tool now has direct integration with Length Reference Notes (RefNotes). For more information on this integration, see our Length Reference Notes documentation.
Troubleshooting
Issue: The Railing tool is giving you smaller spacing than you want
Issue: Some of your railing, walls, or fence graphics have become broken or fragmented into separate pieces