Land F/X
  • Portal
  • Products
    • Detail F/X
      • Product
      • Features
      • Trial
      • Purchase
    • Planting F/X
      • Product
      • Features
      • Trial
      • Purchase
    • Irrigation F/X
      • Product
      • Features
      • Trial
      • Purchase
    • F/X CAD
    • Plugin for Revit®
    • Plugin for SketchUp®
    • Plugin for Rhino®
    • Site & Hardscape
    • Lighting
    • Manufacturer Connection
    • Academic
    • Purchase
  • Support
    • Knowledge Base
    • Documentation
    • Submit Ticket
    • Updates
    • Forum
    • Install
  • Videos
    • Power Tips
    • Webinars
    • Podcasts
  • Who We Are
    • Contact Us
    • Careers
    • Gallery
    • News
  1. Home
  2. Knowledge Base
  3. Installation Troubleshooting & Errors
  4. Installing Land F/X: Info & Troubleshooting
  5. New Land F/X Workstation Setup

    []

    Configure QNAP Server for Land F/X

    Updated on: April 29, 2022

    The steps in this article will show you how to configure a QNAP server with network attached storage (NAS) to use with Multi-User Land F/X.


    This process is a bit involved, so we've created a short video that goes through all the screens and steps you'll need. Use the outline below for details, and pause the video as needed.

    Important: The video includes a step that instructs you to import the data file. Importing this file is no longer necessary. Please skip this step.

    Step 1 (if necessary): Don't have Land F/X installed already? Install Land F/X

    Already have Land F/X installed on one of your computers? Skip to Step 2.


    Follow our steps to Install Land F/X using Local Data.


    On the Destination Folder step, install F/X Server to the location C:\LandFX

    Land F/X installer, Destination Folder screen

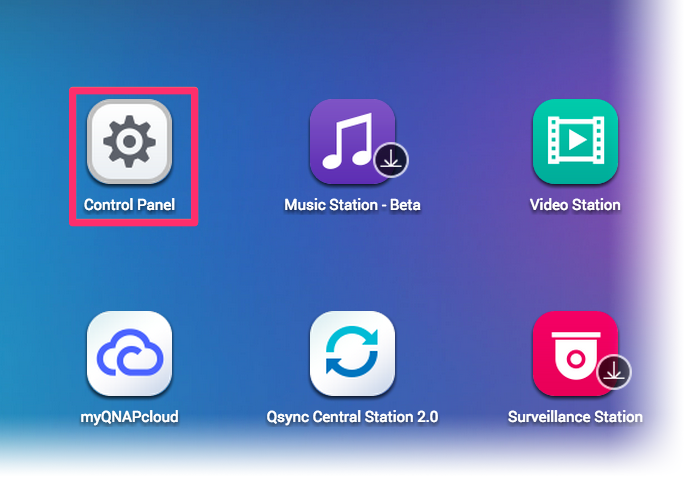
    Step 2: Open your QNAP

    To open your QNAP, type your IP address and port into a Web browser.


    example:

    192.168.211.34:8080


    The default login is:

    user: admin
    pass: admin

    Step 3: Enable MySQL

    3A. Click Control Panel on your QNAP server.
    Control Panel on QNAP server


    Applications tab
    3B. In the panel on the left side of your screen, click Applications.


    3C. Scroll down in the list of applications, and click SQL Server.
    SQL Server in list of applications


    Enable MySQL Server and Enable TCP/IP networking options selected

    3D. Select the following options:

    • Enable MySQL Server
    • Enable TCP/IP networking


    Then click Apply at the bottom of the Control Panel.


    Step 4: Install phpMyAdmin

    4A. Click the link on the Note to install phpMyAdmin

    -OR-

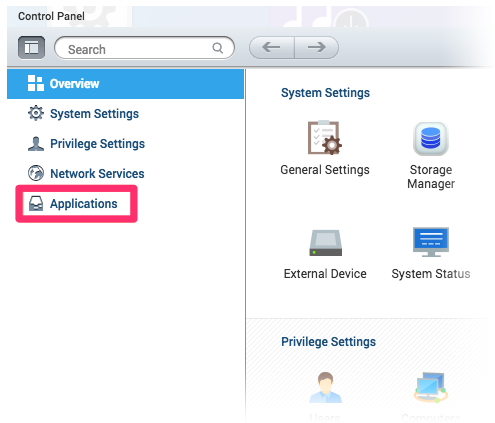
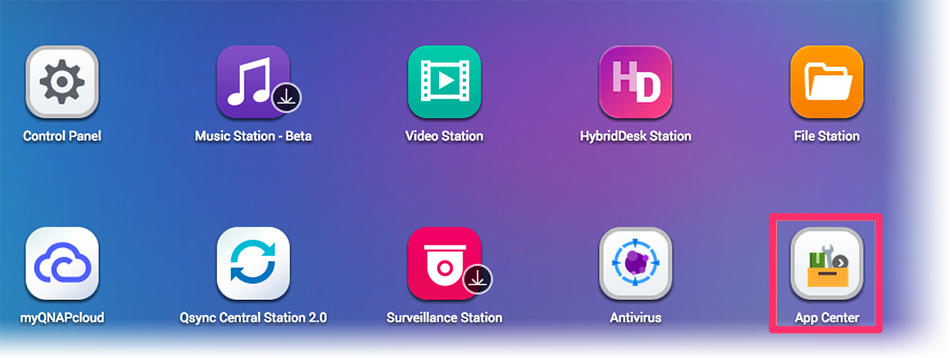
    Close the Control Panel and open the App Center.

    App Center icon


    Utilities button
    4B. Scroll down in the pane on the left side of your screen, and click Utilities.


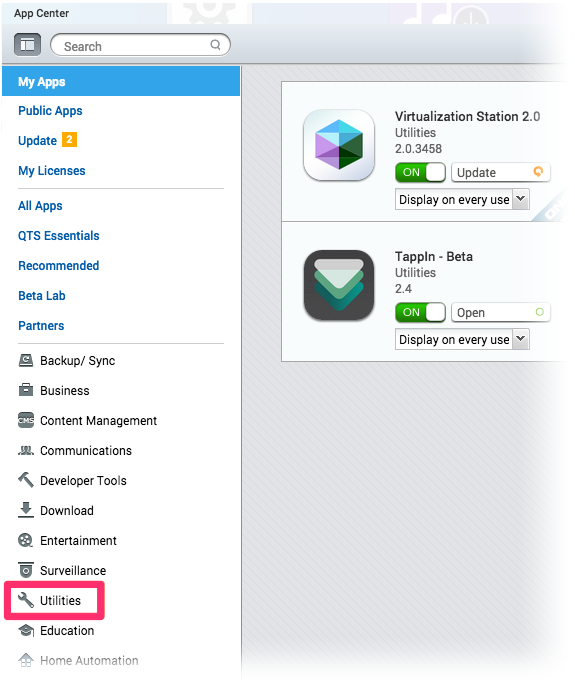
    4C. Scroll down to phpMyAdmin, and click Add To QTS.

    phpMyAdmin utility, Add to QTS button


    Step 5: Configure phpMyAdmin

    5A. Log in to phpmyadmin by clicking the phpMyAdmin logo from the QNAP homescreen.


       Default login:

    user: root
    pass: admin


    5B. Click the SQL tab to create the Land F/X database.


    5C. Enter the following lines one by one, and click GO after each entry:

       CREATE DATABASE landfx;

       CREATE USER ‘ODBC’;

       GRANT ALL ON landfx.* TO ‘ODBC’;

    At this point in the video, we mention importing the data file, but you'll actually need to skip that step.

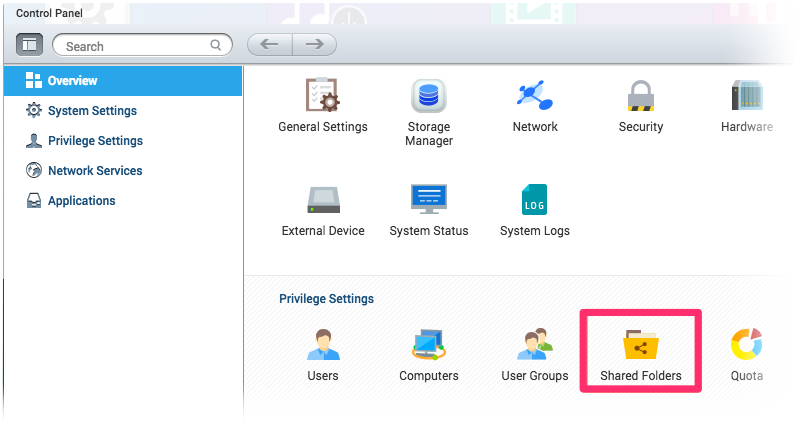
    Step 6: Create share point on the QNAP

    6A. Open the Control Panel from the QNAP interface.
    QNAP interface, Control Panel button


    Privilege Settings, Shared Folders icon
    6B. Click Shared Folders, found under the Privilege Settings.


    6C. Click Create, then select Shared Folder from the menu that opens.
    Creating a shared folder


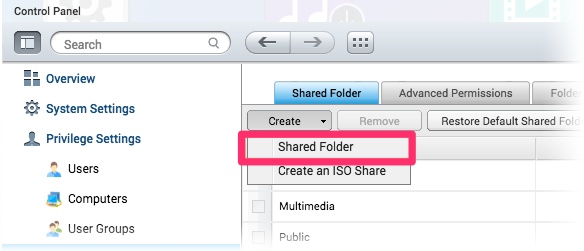
    6D. Name this folder LandFX.


    6E. Click Edit under Configure access privileges for users.


    6F. You can add your users here and make sure that they have full Read/Write permissions.


    6G. Add the data from the landfx_latest/landfx to the newly created LandFX shared folder on the QNAP. (You can use the QNAP finder utility to find your QNAP on your network if you don't see it.)


    6H. Map a network drive to the LandFX folder on the QNAP.


    6i. Copy the contents of the LandFX folder created in Step 1 above. (This folder will be at the location C:\LandFX.) Paste the copied items into the LandFX folder you created on your QNAP in step 6D above.


    6J. Open the LandFX folder on your QNAP and delete the data subfolder from that location.

    Step 7: Configure your workstations

    7A. On one of your CAD workstations, navigate to the LandFX folder on your QNAP.


    7B. Download the latest Workstation Installer by right-clicking the following link and selecting Save Link As or Save Target As.

    {jumi [*52]}


    7C. Locate the setup_FXWorkstation file you downloaded in Step 2 above. Drag it into the LandFX folder on the QNAP. Run the setup_FXWorkstation file from that folder.

    This step will enable the database connection from the QNAP. For more detailed instructions, see our New Workstation Setup article.

    7D. Open CAD, and load the LandFX menus if they are not automatically preloaded.


    7E. Type REACTIVATE in the Command line, and enter your Support ID.


    All finished! Enjoy your QNAP Land F/X installation.

    Contact

    • Land F/X
    • PMB 351 3940 Broad St. STE 7
      San Luis Obispo, CA 93401
    • +1 805-541-1003
    Email Logo Facebook Logo Instagram Logo LinkedIn Logo
    Land F/X Logo

    Our software tailors AutoCAD®, Revit®, SketchUp®, and Rhino® to the needs of landscape architects, irrigation designers, and other professionals. We automate your most tedious tasks and ensure accuracy, giving you more time to design.

    • Portal
    • Products
    • Support
    • Videos
    • Who We Are