
Placing Color Rendered Plants
Updated on: June 24, 2025
Quick video
- Placing Color Rendered Plants
- Adjusting Plant Shadows
- Adjusting the Draw Order
- Save the Drawing
- Troubleshooting
To learn how to colorize plant symbols, Shrub Areas, and groundcovers using our Color Render tool, see our Color Render article.
For information on printing/plotting your color-rendered plants, see our Plotting a Colorized Drawing page.
Placing Color Rendered Plants
If you place plants while our Color Render tool is turned on, the color plant symbols will place in your drawing.
After you've assigned a form and color to each of the plants placed in your drawing, click the OK button in the Plant Colorization dialog box. Note that it may take several minutes to download the colorized symbols and replace them.
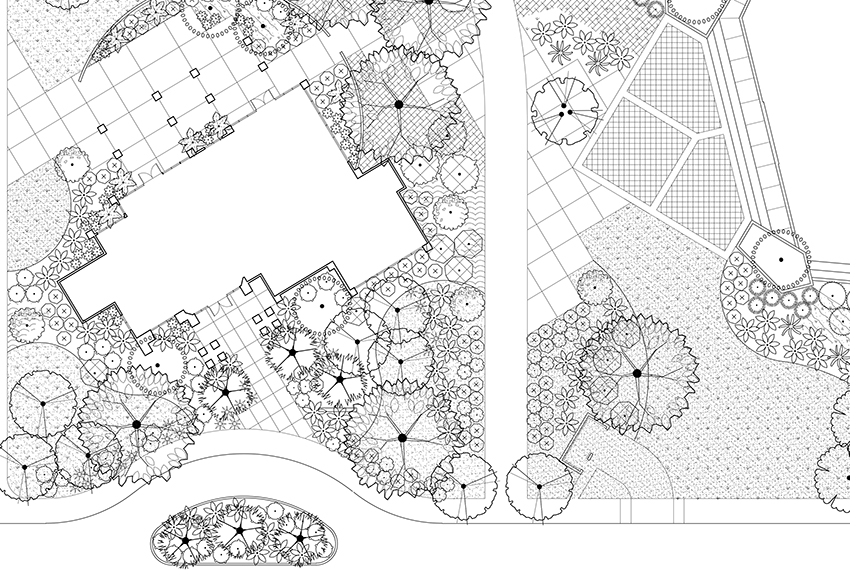
Before colorization

After colorization
View Transparency
The viewing of the colorized plants requires a couple of CAD features for correct viewing. These symbols are created with transparencies. Therefore, you'll need to click the TPY (Transparency) button on the bottom AutoCAD menu to view the plants correctly.

Adjusting Plant Shadows
The plant shadows will be turned on automatically, but you may need to reset their orientation. Open our Plant Shadows tool, and set the angle of the shadows.
Open Plant Shadows:
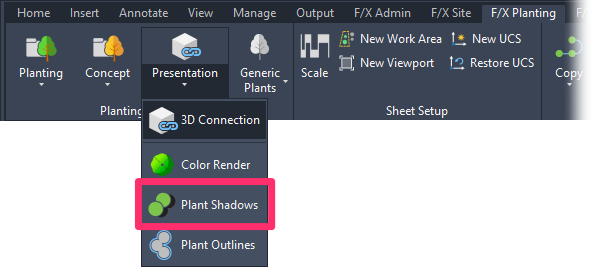
F/X Planting ribbon, Plant Shadows flyout
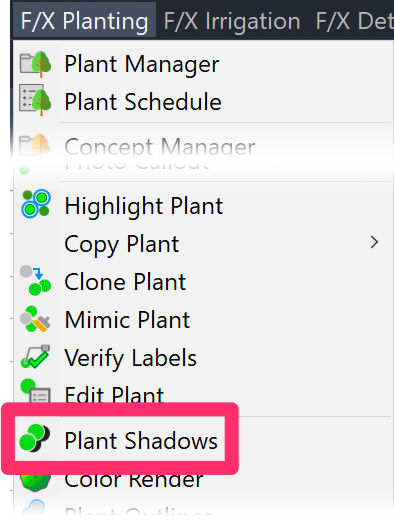
F/X Planting menu, Plant Shadows option
or type PlantShadows in the Command line
The Plant Shadows dialog box will open. Type an angle for your plant shadows in the Angle of shadows field.
The default angle is 135 degrees.
Close the dialog box to apply the new angle.

Adjusting the “Draw Order”
AutoCAD's Draw Order feature allows certain objects to appear above or below other objects. When our software performs the colorization process, it tries to determine this draw order automatically, so trees appear to be on top of shrubs, etc. However, you may need to review the Draw Order that took place and make manual adjustments as necessary.
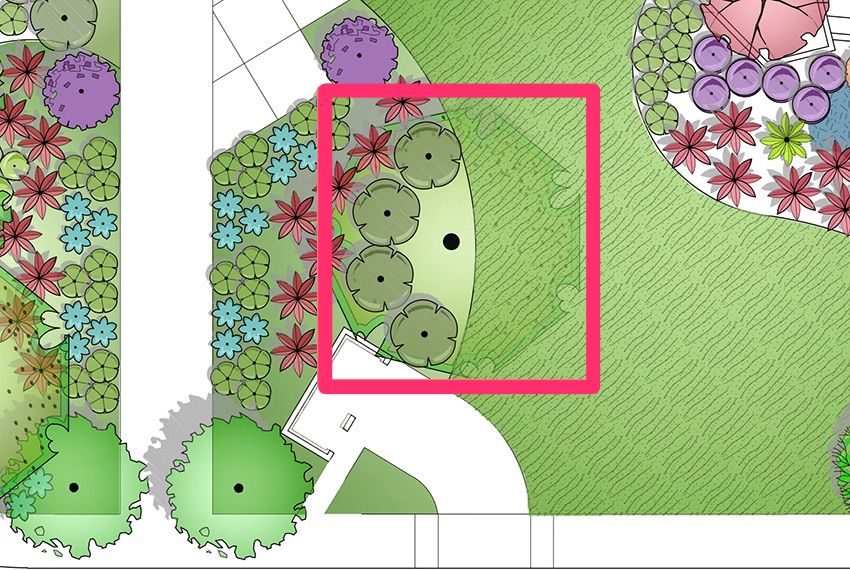
Here's an example of a drawing that needs adjustment of draw order. The circled tree appears below the adjacent shrubs, and needs to be moved to the “front.”
Highlight as many of these plants as you want.
Then go to the AutoCAD Tools menu and select Draw Order.
Select Bring to Front from the submenu that opens.

The trees will now appear on top of the shrubs.

Review all your plant symbols and bring them either to the Front or Back (on the same menu) as required.
Save the Drawing
You should now save this colorized drawing with a different name from that of the planting plan, thus retaining the original.
Troubleshooting
Issue: "Bad Argument Type" error when turning Color Render off
Issue: Problems with tree transparency – can't see through or below the trees
Issue: Unable to see hatches or colorized plants in a 3D model (AutoCAD or Civil 3D)
Issue: Your color Shrub Area and groundcover hatches won't turn off