F/X CAD 2025 Updater
Updated on: July 21, 2025
Quick video

We've simplified the process for applying updates to F/X CAD that improve performance and repair bugs.
Here are the official Autodesk release notes for Update 2025.1.2 Original source
Fixed Issues
Autodesk Trust Center
For the latest information regarding the security fixes in this Update, refer to the Security Advisory:
Graphic
- Occasional crashes when changing the multiline text style to a specific TTF font.
- Occasional crashes when inputting any viewport name in any 3D visual style if switching from model space to paper space and back.
General
- Occasional .NET errors when setting a lower display resolution and a higher DPI.
General Update Content
The following defects have been fixed:
General
- No more memory leak when editing the multiline text on Windows 11 24H2 version.
- The BURST command (Express Tool) now runs correctly on some specific drawings.
- The ESRI map style icons in the list of GEO dialog box now display as expected.
- The block properties in the drawing remain the same as in the original drawings after running the EXPORTLAYOUT command to export.
Close
When an update is available, you'll see a notice telling you so when you open F/X CAD 2025. At that point, you'll first need to export your F/X CAD settings.
Next, use the link below to download and install the updater. Right-click the F/X CAD 2025 Updater download link below.
{jumi [*173]}
Select Save Target As or Save Link As from the menu that opens, and save the file to your desktop.
Go to your desktop, and double-click the file fxcad2025_Updater (or fxcad2025_Updater.exe).
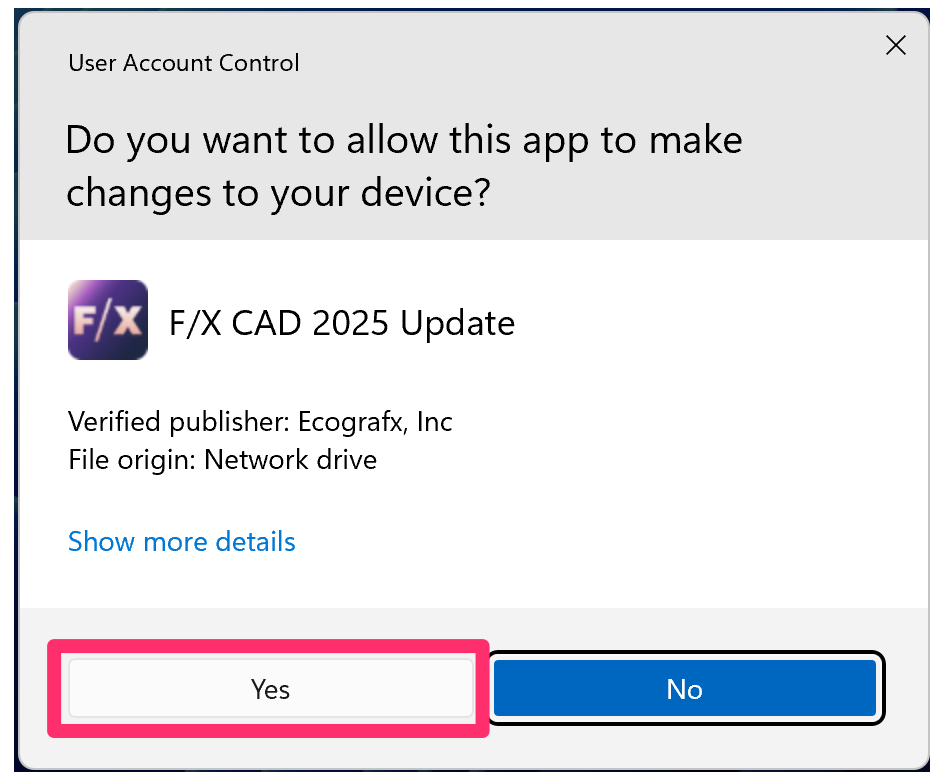
If asked whether you want to allow this app to make changes to your device, click Yes.
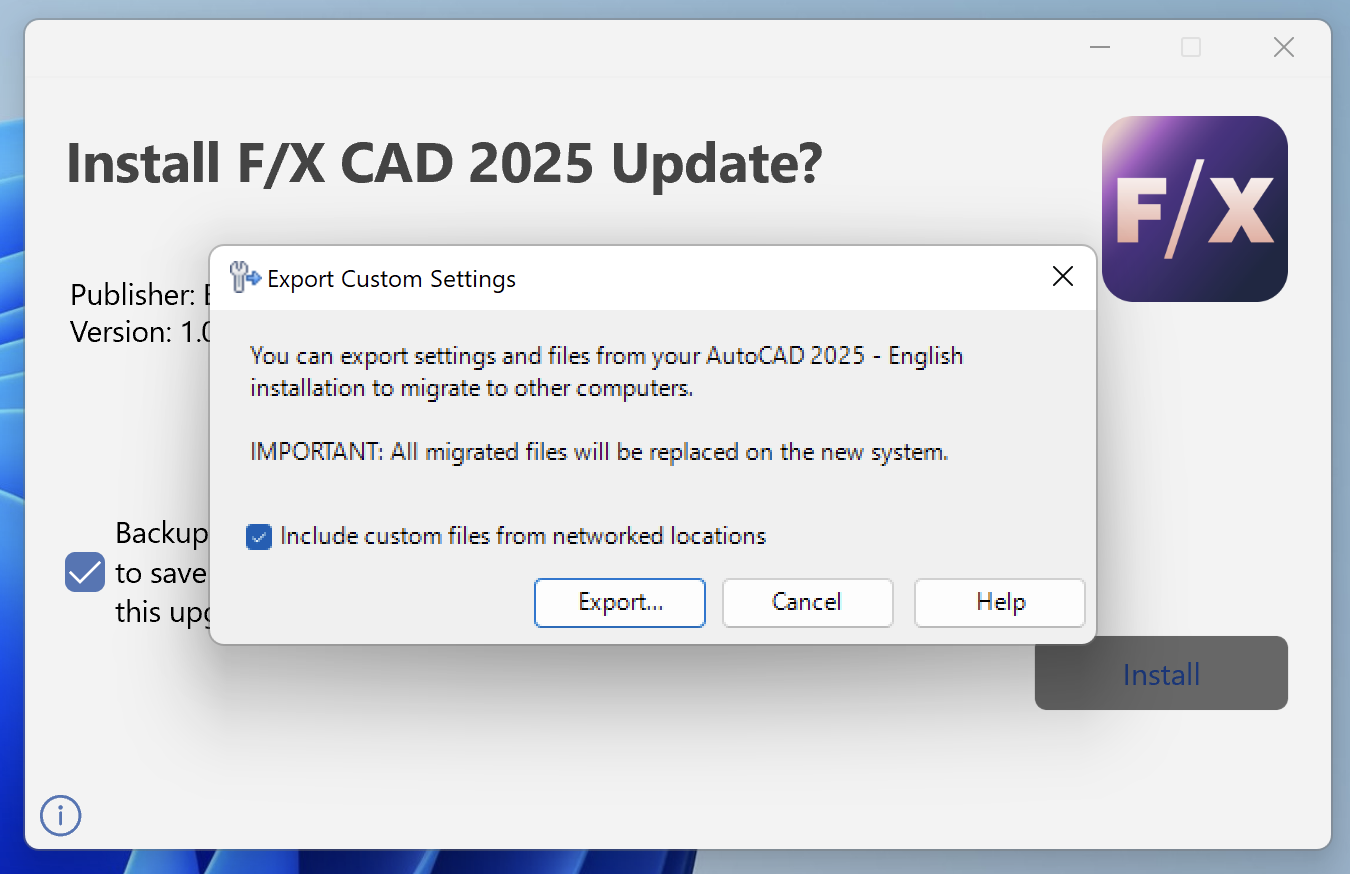
You'll be asked, Install F/X CAD 2025 Update?
Click Install to install the update.
We highly recommend selecting the option to Backup and restore customizations before and after the Upgrade to save and restore your settings. This option will be selected by default.


You'll see a reminder that some dialog boxes may appear behind our windows, and to look for and click a flashing icon on the taskbar if the installation process appears to be frozen.
Click OK.
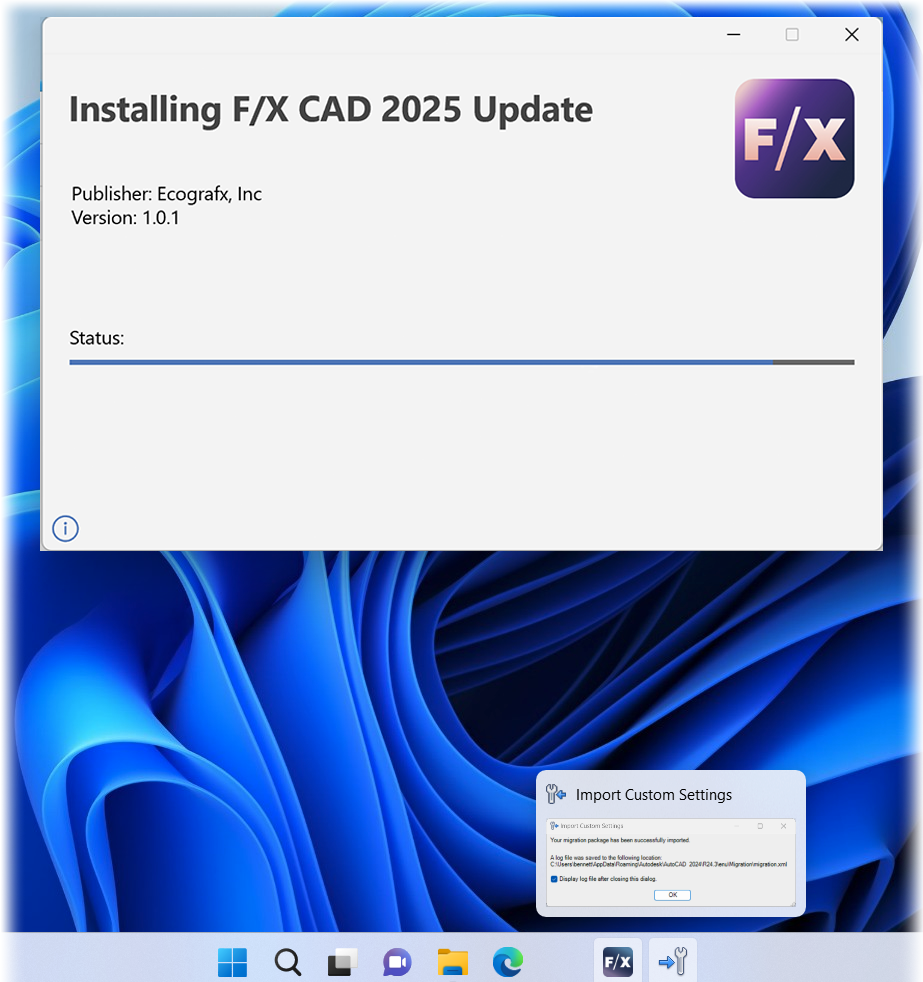
Because the Autodesk tool is not under our control, some dialog boxes may appear behind ours during installation – generally the confirmation dialog boxes you'll see after successfully exporting or importing your CAD settings, as pictured below. Our update will not progress until you close those dialog boxes.
If you selected the option to back up your customized settings, you'll see an Export Custom Settings dialog box.
Click Export to begin backing up your customized settings.
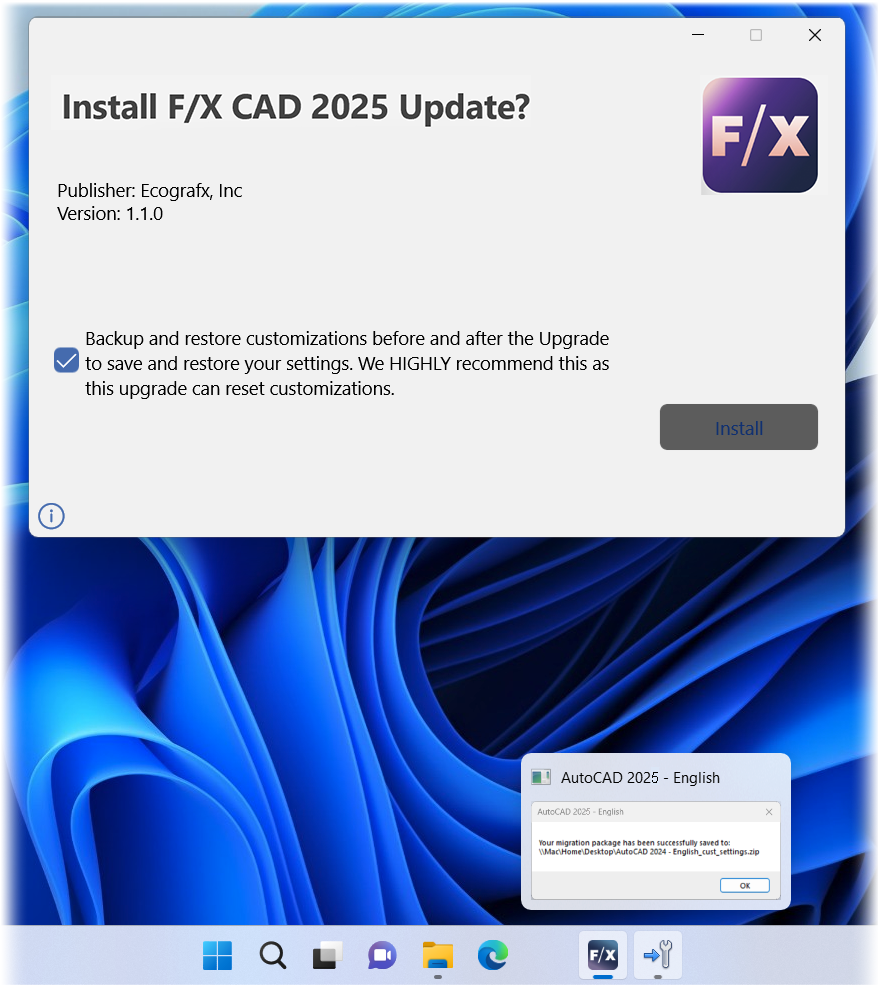
If you chose to export your customized settings, you'll see a message that your migration package has been successfully saved. Take note of the location shown in the dialog box, then click OK.
You'll now be able to import your custom settings. Navigate to the location, shown in the previous step, where your custom settings were saved.
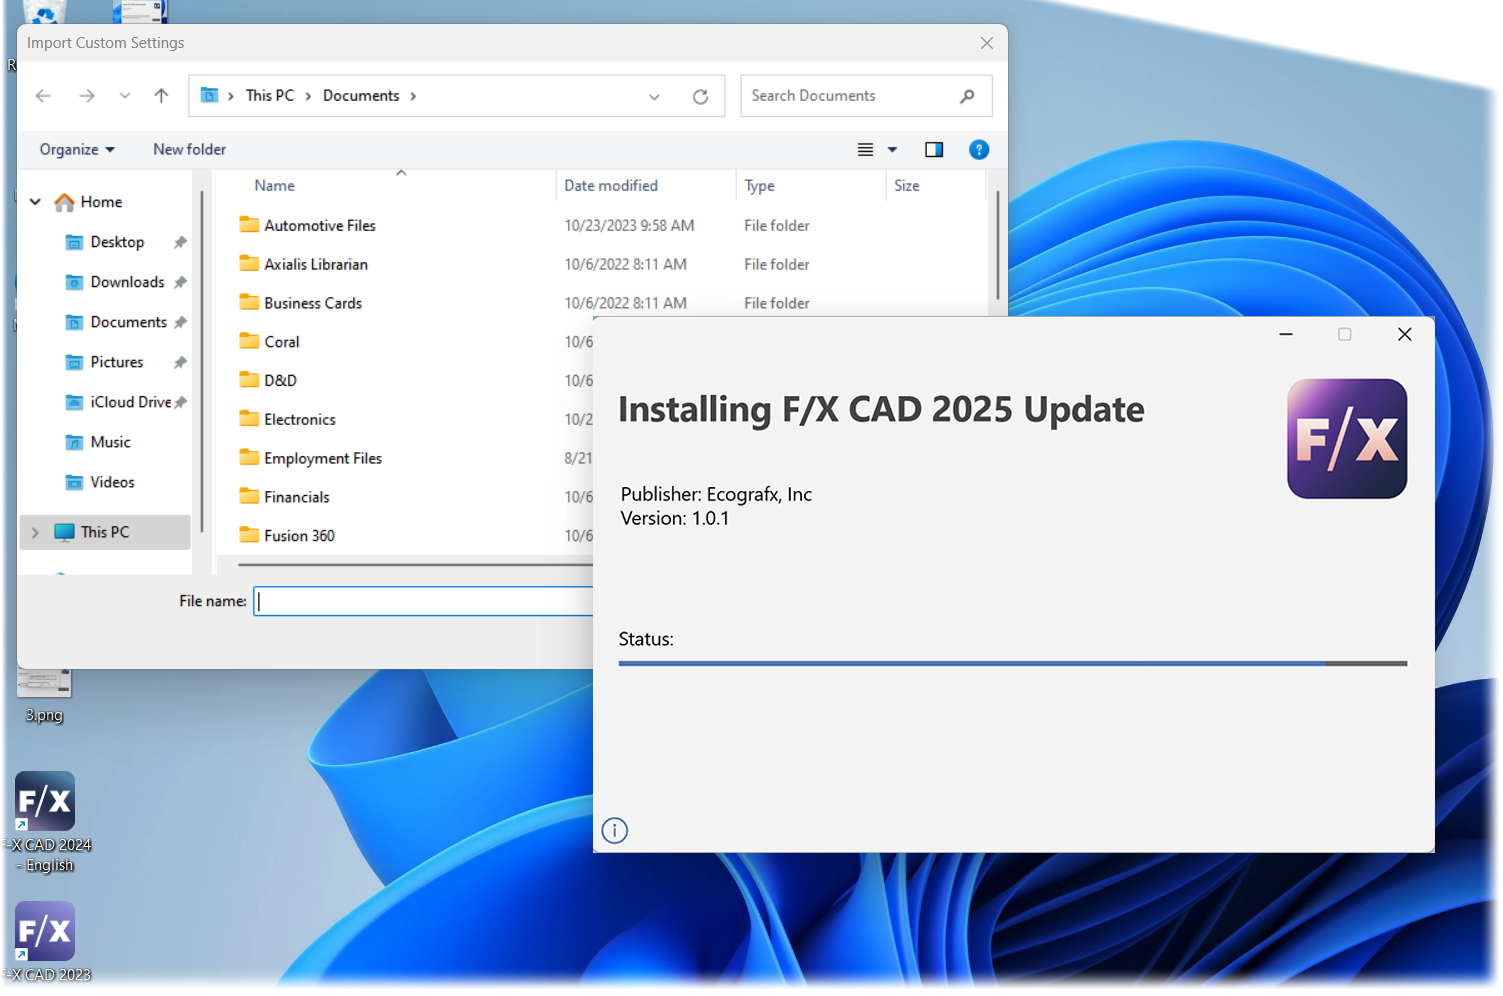
You'll see an Import Custom Settings dialog box showing that your custom settings have been imported.