Correct or Change the Size of Existing Text in Your Drawing
Issue
You have text already placed in a drawing, and you've set up a Text Style to update your standards since that text was placed. When you apply that style, the font changes but the text size is incorrect. When you place a new instance of text using the new style, it comes in at the correct size.

Cause
Text height is defined within the Text Style you use when placing the text. So if the text height is 0'0" in the style you're currently using, that height will be locked in each time you place text until you change the style. (If you were to place text using our Land F/X text tools, the text you place will have its height based on the point size that's specified for that Text Style).
If you specify a fixed height as part of a Text Style, the Height prompt will be bypassed when you create single-line text.
Solution
1. Select one text item.
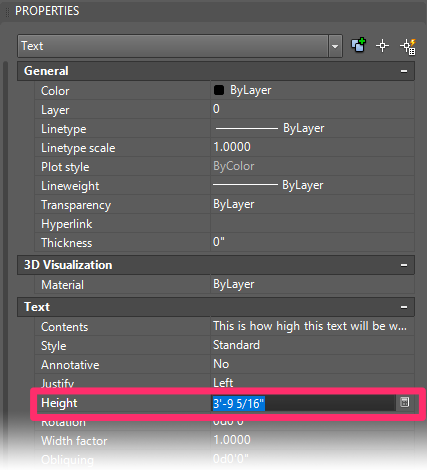
2. Type PROP in the Command line and press Enter. The Properties Panel will open.

4. Place a new instance of text in the style you want to use, or use the text item you just changed manually. (In the example below, we'll assume that the bottom, smallest line of text has the size we want to use.)

5. Open the AutoCAD Match Properties tool by typing MATCHPROP in the Command line and pressing Enter.
6. You'll be prompted to Select source object. Select the text with the size you want to use.
7. You'll be prompted to Select destination object. Select the text whose size you want to change.
The text should now be the correct size.


