
Lateral Pipe Categories/Classes Are Not Sizing to Your Needs, or You Want to Size Your Laterals According to Zone Type
Issue
You want your lateral pipes sized according to zone type.
The pipe classes may not be sizing to what you need, or the classes are not what you want for each zone.
Cause
Pipes are autosized depending on the order you've set for your pipe classes. You likely do not have your classes set in the right order for the pipe categories you need to size.
Solution
1. Open our Pipe Data tool from the Irrigation Manager.
2. With the Lateral tab selected, set up your pipe classes in the order you want them.
Starting with Class 1, select a pipe category and set the available sizes for that category.
Repeat this step for the rest of the pipe classes you want to use in your project. You can configure up to nine classes of lateral pipe.

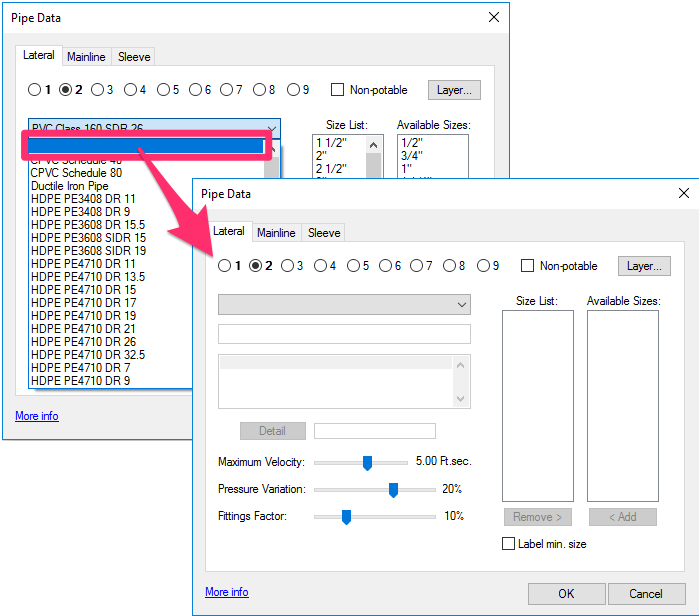
To clear out all settings in one of your pipe classes, select the blank option at the top of the category list.
All settings in that class will be deleted, and you can build that class from scratch.
3. Once you've set up your classes in the order you want, draw a section of class 1 off to the side.
4. Open our Mimic Equipment tool, and change all lateral pipe back to Class 1.
5. Draw another class off to the side, and use Mimic Equipment to assign that class to the zones where you want it.
6. Repeat Step 3 for each remaining class of pipe in your project.
7. Size all laterals. Your laterals should now size in order according to zone.
Contact
- Land F/X


Our software tailors AutoCAD®, Revit®, and SketchUp® to the needs of landscape architects, irrigation designers, and other professionals. We automate your most tedious tasks and ensure accuracy, giving you more time to design.