
Install Multi-User Land F/X With Local Data
This guide applies to:


The steps on this page will result in a Multi-User installation of Land F/X software using Local Data (MySQL). Your office workstations will access Land F/X Server from an office server or network drive.
Need to install F/X CAD?
You'll be brought to the F/X CAD installation steps once you've installed Land F/X.
Cloud or Local Data?
We recommend Cloud Data for firms with a fast and reliable Internet connection, as well as offices with employees who plan to work remotely on home computers or laptops. Cloud Data installation instructions
If your office does not have a reliable Internet connection, we recommend following our Local Data installation steps.
Synology NAS users: Although NAS installs will work with Local Data (on NAS servers that support MySQL), we recommend that Synology NAS users choose Cloud Data. Take a moment to review our system requirements
Still not sure which to choose? Ask your IT administrator.
Quick video

Prerequisites
To complete this installation, you will need:
To be physically on and logged in to your office server or network drive.
Your Land F/X Support ID*.
*You or your office will have received your Support ID in an email from Land F/X.
The location where you will be storing your LandFX folder.
The LandFX folder is a folder on your computer, office server, or shared online folder that contains a number of important items our software requires in order to function. Learn more about the LandFX folder and where to store it.
The name of your office server.
{jumi [*24]}Step 1: Download the installer
1A. Log in to your server or network drive.
It's important that you're physically logged in to your server or network drive when completing our steps to install Land F/X software using Local Data.
1B. Right-click the Land F/X Installer download link below.
{jumi [*74]}
1C. Select Save Target As or Save Link As from the menu that appears, and save the file to your desktop.
Step 2: Install Land F/X
2A. Go to your desktop, and locate the file setup_FXServer_multiuser (or setup_FXServer_multiuser.exe if you saved it there. If you clicked the link directly, this file will likely be in your Downloads folder.
Double-click the setup_FXServer_multiuser file and proceed through the installation steps, paying special attention to the screens pictured below.
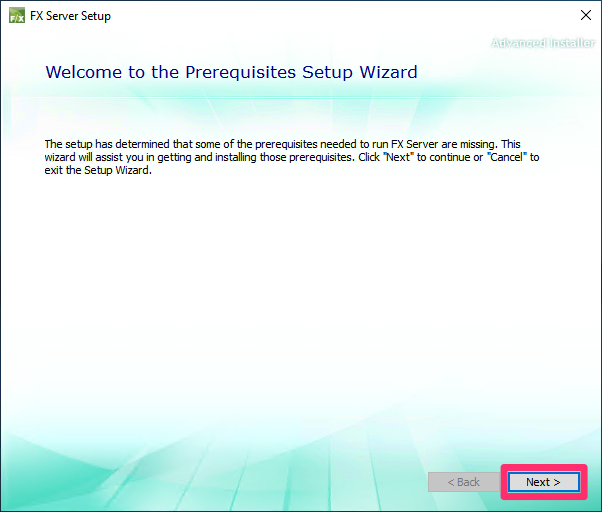
2B. You may see the Welcome to the Prerequisites Setup Wizard screen pictured below to the left. If so, click Next, and then click Next on the screen that pops up (pictured below to the right) to begin the installation process.
If you have already installed Land F/X on this computer, you won't see these screens.

2C. Enter your Support ID* when prompted. You can simply copy and paste it into the text field.
*You or your office will have received your Support ID in an email from Land F/X.
"The Wizard was interrupted"
Did you receive this error after entering your Support ID?Here's what to do.

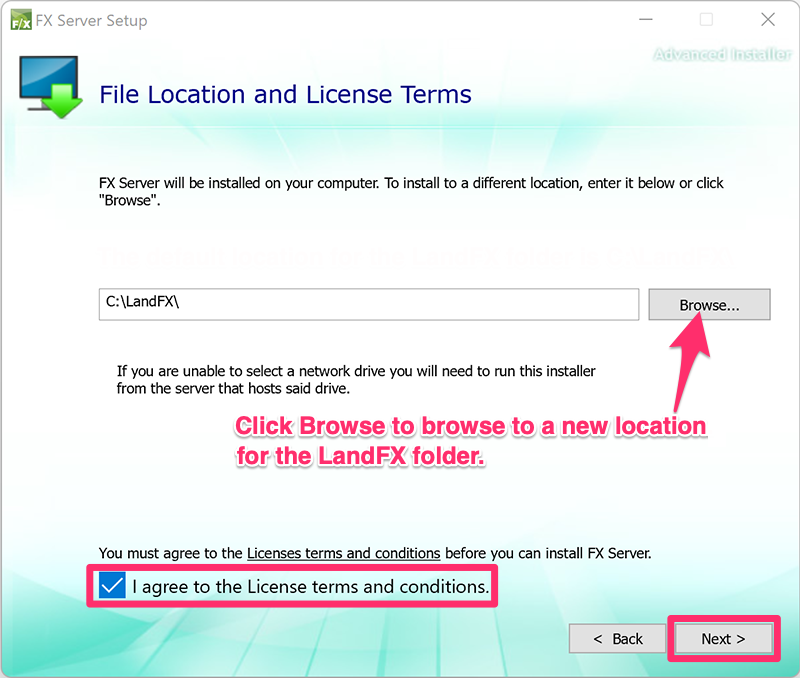
2D. File Location and License Terms
During the File Location and License Terms step, you'll be asked where to install the LandFX folder. Our installer will create this folder automatically in the location you choose.
Click Browse to browse to and select a location for the LandFX folder.
The LandFX folder will need to be shared on your network, so make sure it's in an appropriate shared location and your users have full read-write permissions for that location.
Check the box to agree with the License terms and conditions, and click Next when finished.
Important considerations:
- This location needs to be accessible through a mapped letter drive on all workstations. How to map a letter drive to your LandFX folder
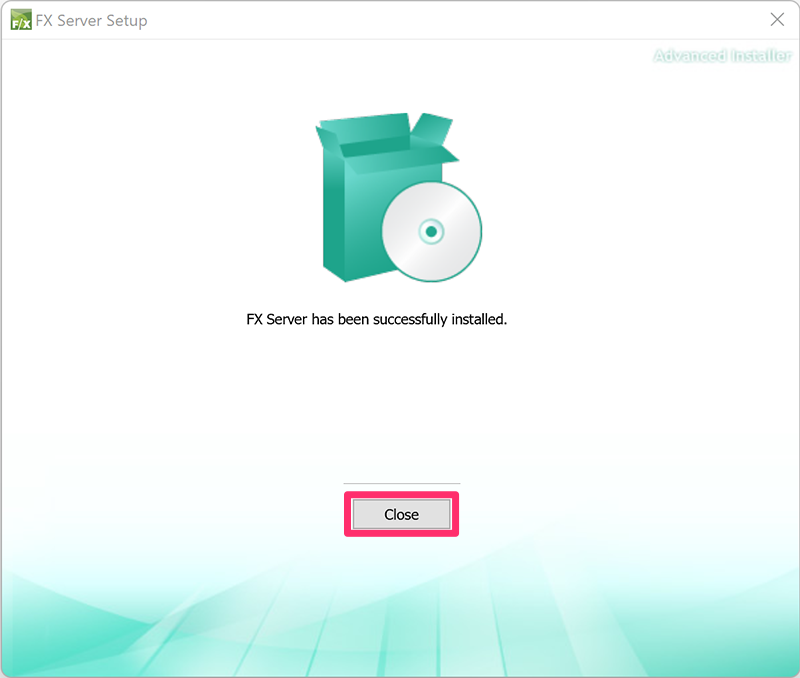
2E. F/X Server has been successfully installed.
Click Close.
Quick video
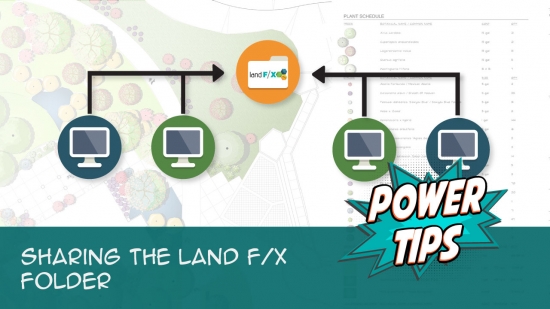
Step 3: Share the LandFX Folder
3A. Share the LandFX folder on your network, and ensure that your users have full permissions.
3B. Create a firewall exception
Add exception in your firewall for port 3306 (if using a firewall other than Microsoft Windows Firewall).
See our Create a Windows Firewall Exception documentation for information and instructions.
Step 4: Set up a backup system for Land F/X
It's extremely important to implement a good backup system for the Land F/X database.
See our article on complete backup solutions and automated procedures.
Step 5 (F/X CAD users only): Install F/X CAD
On each workstation where you plan to use F/X CAD:
Step 6: Install the F/X Workstation component
Follow our steps to install the F/X Workstation component.
This step will set up your computer, or the Land F/X workstation in your office, to use Land F/X with either AutoCAD or F/X CAD.
What's next?
Our extensive Learning Resources section includes everything you need to know about our software, with resources ranging from instructional articles to short Power Tip videos, in-depth webinars, and more.
- Go to our Learning Resources page.
- View our three-part webinar series for Land F/X beginners to learn what Land F/X is, how it works, why it’s such a valuable design tool, and much more.
- Browse our documentation section.
- Trying out Land F/X for the first time? See our How to Effectively Utilize the Land F/X Trial webinar for a guide to the installation process, an introduction to key Land F/X tools, and some expert tips to help you get started quickly.
- Trying out Land F/X for the first time? See our How to Effectively Utilize the Land F/X Trial webinar for a guide to the installation process, an introduction to key Land F/X tools, and some expert tips to help you get started quickly.
Contact
- Land F/X


Our software tailors AutoCAD®, Revit®, SketchUp®, and Rhino® to the needs of landscape architects, irrigation designers, and other professionals. We automate your most tedious tasks and ensure accuracy, giving you more time to design.