
Details Tools
Updated on: January 22, 2024
Quick video
- About the Ribbons
- Detail Library Tools
- Create Detail Tools
- Detail Builder Tools
- Detail Annotate Tools
- Detail Callouts Tools
- Details Preferences
- Related Webinars
We've organized the tools on our F/X Details ribbon into several groups based on the various tasks required for drafting, saving, organizing, annotating, and calling out details. This page lists each tool available on the F/X Details ribbon, provides a brief description of what each tool does, and links to documentation pages that go more in depth on each details tool.
About the Ribbons
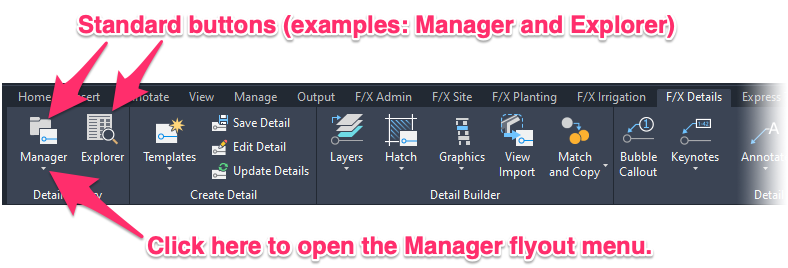
Our ribbons are made up of buttons that, when clicked, initiate a command. The ribbons have two types of buttons:
- Standard Buttons launch a command immediately after being clicked.
- Flyout Buttons contain commands of the same family and are identified by the small triangle in the lower portion of the button. To open the menus of these buttons, left-click the button on the ribbon until the related menus are displayed.
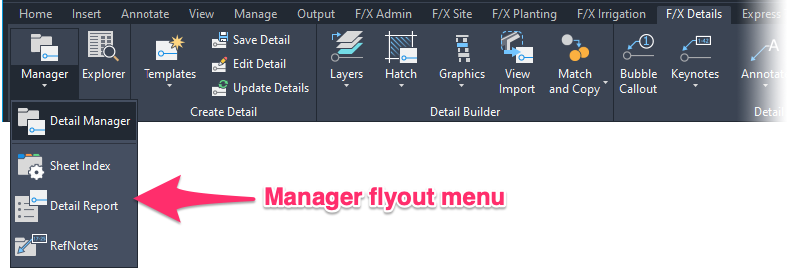
The following example shows how to open the flyout menu from the Manager button.
If you don't see your Land F/X menus or ribbons, you may need to reload them – a quick and easy process. For information on loading your menus, see our MENULOAD article.
Detail Library Tools
The Detail Library tools are designed to help you organize your details, including creating the folder structure where you store your details, adding details to Land F/X projects, assigning details to sheets, and creating reports of your details.

Detail Manager (available on the Manager flyout)
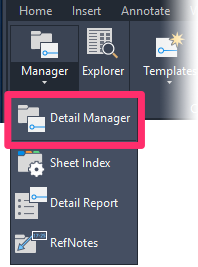
Opens the Detail Manager. From here, you can add details to your project and view each detail to find out its detail number, along with other important information. You can also see which details you've placed in your drawing.
Sheet Index (available on the Manager flyout)
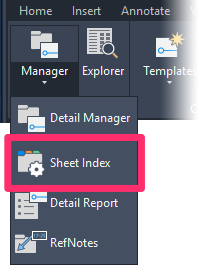
Opens the Project Manager, which contains the Sheet Index. Here, you can organize and edit the sheets associated with each Layout tab in your drawing. Because details are placed on Layout sheets, this feature is a valuable tool in organizing your details.
Detail Report (available on the Manager flyout)
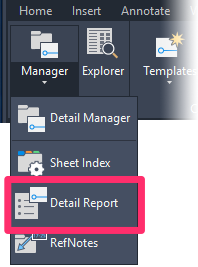
A Detail Report is a schedule of all details you've used in your project and included in your sheets. This tool allows you to place a Detail Report in your drawing or send it to a spreadsheet for further editing. You can choose to list all details, details by date, or details by category.
RefNotes (Reference Notes) (available on the Manager flyout)

Opens the Reference Notes (RefNotes) Manager. RefNotes are "smart" objects or notations that you add to your Land F/X projects and assign with data such as cost and identifying text. RefNotes can be anything from site amenities to hardscape materials and objects that require length measurements (such as retaining walls).
You'd assign a detail to a RefNote if you needed to provide additional information about that RefNote in the construction documents that you wouldn't necessarily want to include in the Reference Notes Schedule (your materials schedule). For example, a detail can illustrate the exact specifications of a bench you add to your project as a RefNote, including its dimensions, installation information, and construction materials.
Detail Explorer

Opens the Detail Explorer. This tool gives you access to your office's entire detail library directly from CAD. From a single dialog box, you can create and edit a logical detail folder structure, save your details to folder, move details between folders, view thumbnail previews of details, and more.
Create Detail Tools
You'll use the Create Detail tools when saving and editing new details, as well as automatically updating details on your sheets after the originals have changed.

Detail Template (available on the Templates flyout menu)

A Detail Template is essentially a border around a detail that includes a title block, but it's also a scaling tool that scales the detail automatically for any sheet where it's placed. After you've drafted a detail at actual size, use this tool to select a plot display size and corresponding scale for your detail.
The template – and consequently, the detail, will will place at a constant detail size on your sheet (based on your Preference Set), regardless of what template scale is used when creating the detail.
It's important that you align a detail template correctly before annotating the detail within it.
Sheet Template (available on the Templates flyout menu)
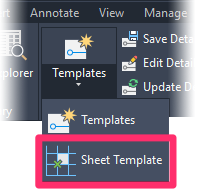
A Sheet Template is a great way to organize a detail sheet neatly. In Paper Space of a detail sheet file, use this tool to set a non-plotting grid of guidelines for orderly detail layout. Refer to the GRID LAYOUT describing detail sizing.
Save Detail
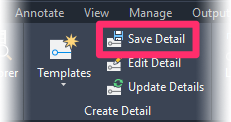
Whenever you need to create a new detail or save changes to an existing one, use our Save Detail tool to pull the new or updated detail into our detail library, where you can access it directly from CAD. Save Detail automatically shoots a thumbnail preview slide of your detail and allows you to give your detail a title and number.
Edit Detail

Need to make edits to a detail you've already placed in a drawing? Use our Edit Detail tool. You can select the detail in the drawing, which opens the detail's source drawing. You can then make the necessary edits and save the newly edited detail. You can choose to overwrite the original or save your edited version with a new detail number, leaving the original unchanged.
Update Details
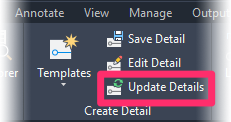
If you've made changes to the original source drawings of any details you're using in your project, use the Update Details tool to effect these changes in the details you've already placed in your drawing. The details in your drawing will update automatically.
Detail Builder Tools
The Detail Builder tools provide a variety of hatches and blocks you can use in creating a new detail.

Create Detail Layers (available on the Layers flyout menu)
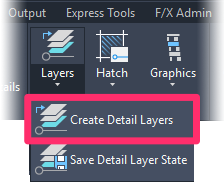
Opens a list of all Detail Layer States. A Layer State is a saved set of layer properties, which you can assign to a drawing.
Save Detail Layers (available on the Layers flyout menu)
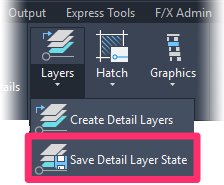
Once you've set your detail layers the way you want them, click this button to save them as a Detail Layer State. You can then use the Detail Layers tool to apply those layer properties to a detail.
Hatch (available on the Hatch flyout menu)

Open our library of Detail Hatch patterns to place or edit a hatch. We've designed our detail hatches to resemble surfaces you'd typically use when creating a detail.
Our Detail Hatches will scale automatically based on the scale of the Detail Template where you place them. Then, once the detail is placed into a Layout, the hatch will look the same in all details where it's included.
PHATCH (P-Hatch) (available on the Hatch flyout menu)
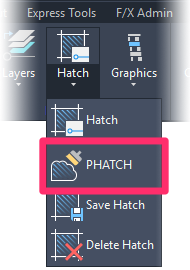
Open our P-Hatch tool to:
- Enlarge, reshape, or otherwise modify a hatch, or
- Create your own custom hatches by "painting" them on the fly
Save Hatch (available on the Hatch flyout menu)

Save a custom hatch pattern into our system.
Delete Hatch (available on the Hatch flyout menu)
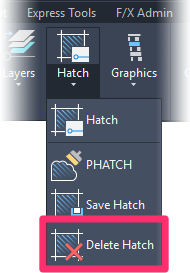
Delete a hatch pattern from our system.
Detail Builder Blocks (available on the Graphics flyout menu)
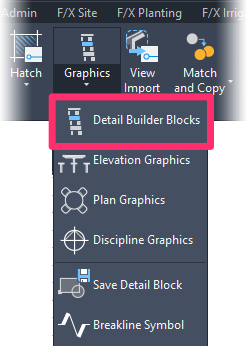
Open our Detail Builder Blocks library. Here, you can find an assortment of blocks you'd typically use as components in building a detail – from fasteners to connectors, framing materials, irrigation equipment, etc.
Using our Save Detail Block tool, you can save your own custom detail blocks into this library for use in future details.
Elevation Graphics (available on the Graphics flyout menu)
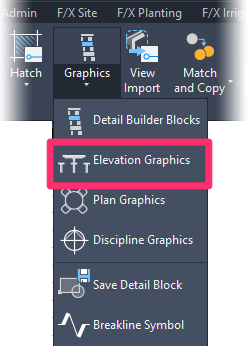
Open our library of Elevation Graphics to place graphic blocks in your detail drawings. These blocks are constructed with an elevation (side) view.
Plan Graphics (available on the Graphics flyout menu)
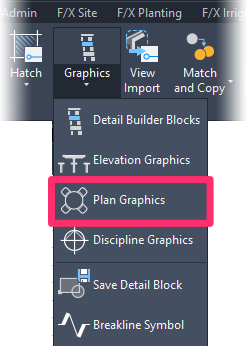
Open our library of Plan Graphics to place graphic blocks in your detail drawings. These blocks are constructed with a plan, or bird's-eye, view.
Discipline Graphics (available on the Graphics flyout menu)
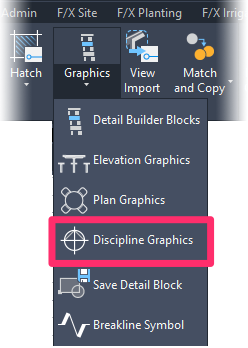
Open our library of Discipline Graphics to place graphic blocks in your detail drawings. Discipline Graphics depict standard symbols used in specific industries such as civil engineering. Examples include sewers, stormdrains, and various callouts and arrow styles you might find handy in building your details.
Save Detail Block (available on the Graphics flyout menu)

Want to create and save your own detail blocks, or bring your existing blocks into our Detail Blocks library? Use Save Detail Block. Like our Save Block tool, it will shoot a thumbnail preview slide of your block and save it into the Detail Blocks system for easy access.
Breakline Symbol (available on the Graphics flyout menu)
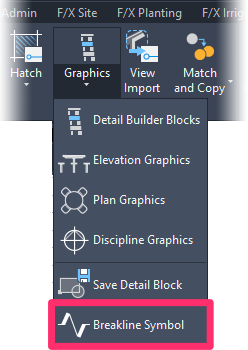
Quickly cut a line in your detail or drawing with a specialized block symbol. A common symbol in the construction industry, a breakline symbol marks a break of undefined length in a linear object within a detail or drawing. Sections inside this break are typically identical on either side, such as a length of wall or fencing.
View Import
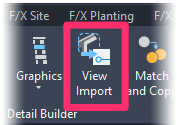
Our View Import tool, currently in beta testing, will allow you to bring in a selected portion of a detail, or a section cut, from a 3D Revit model into CAD.
Match Object (available on the Match and Copy flyout menu)
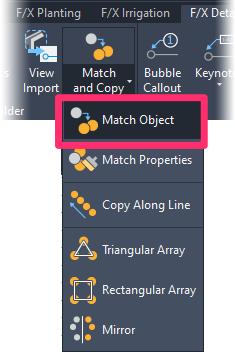
Use Match Object to quickly place copies of blocks, hatches, and callouts – including all attached data.
Match Properties (available on the Match and Copy flyout menu)

Use Match Properties to select a "smart" block or hatch and apply its symbol and all other data assigned to it to another block or hatch.
Copy along Line (available on the Match and Copy flyout menu)
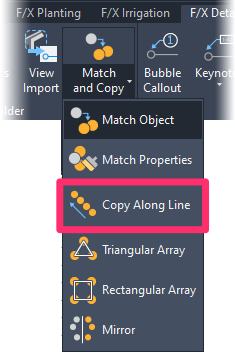
Use Copy along Line to quickly place copies of blocks and callouts, including all attached data, along a path in your detail while setting the spacing to your specifications.
Triangular Array (available on the Match and Copy flyout menu)
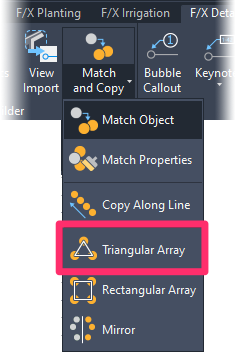
Use Triangular Array to copy blocks and place duplicates into a triangular pattern.
Rectangular Array (available on the Match and Copy flyout menu)

Use Rectangular Array to copy blocks and place duplicates into a rectangular pattern.
Mirror (available on the Match and Copy flyout menu)
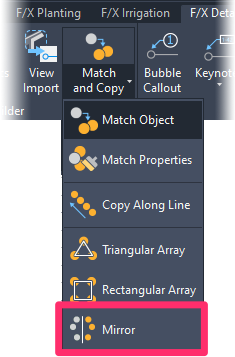
Use Mirror to copy several blocks and place them in an identical pattern mirrored across an imaginary center line.
Detail Annotate Tools
We make it easy to add notes to and call out your details and their components. With this many annotation tools at your disposal, your details will be organized, neat, clear, and informative.

Bubble Callout

You can create Detail Bubble Callouts on the fly when creating a detail, but you can also apply them to more than one detail by just copying the schedule from one detail to another. The Bubble Callout tool "knows" which callouts (and the corresponding detail numbers) are used in each Detail Template you place.
Detail Bubble Callouts work well with repetitive text and in details that have limited space. Because they're great at translations, they're also a perfect option when you need to create details in different languages.
Keynote Callout (available on the Keynotes flyout menu)
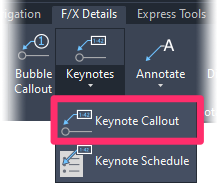
Keynote Callouts are master callouts that are linked to a highly organized system of divisions and subdivisions. Our default Keynote Database is based on Construction Specifications Institute (CSI) specifications, but you can reorganize it to meet your specific needs. Because the number and text associated with each Keynote Callout are stored in a master database, you can reuse them across multiple details, sheets, and drawings.
Keynote Schedule (available on the Keynotes flyout menu)
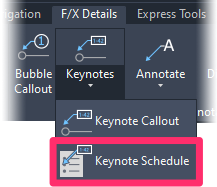
Once you've placed Keynote Callouts on a sheet of details, you can run a Keynote Schedule. The schedule will catalog all the Keynote Callouts on that sheet into a single schedule for easy reference. As with our other schedules, you can place the Keynote Schedule directly in your drawing or send it to a spreadsheet.
Detail Leader with Text (available on the Annotate flyout menu)

Place a leader with text.
Detail Leader (available on the Annotate flyout menu)
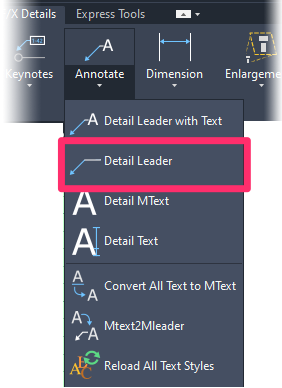
Place a leader without text.
Detail MText (available on the Annotate flyout menu)
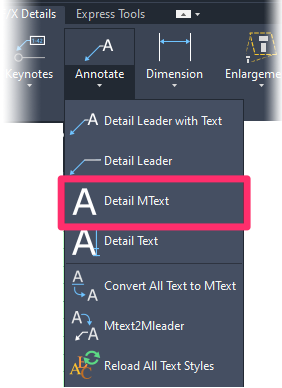
Place a multiline text (MText) entry in a detail.
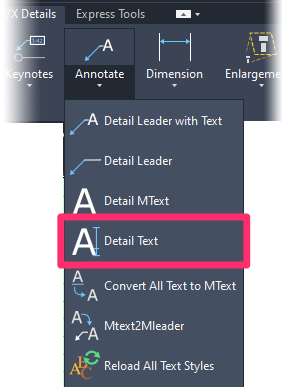
Detail Text (available on the Annotate flyout menu)
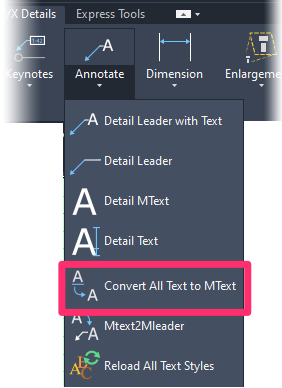
Convert All Text to MText (available on the Annotate flyout menu)
Mtext2Mleader (available on the Annotate flyout menu)

Quickly change an entry of multiline text (MText) to a Multileader (MLeader) callout in a detail.
Reload All Text Styles (available on the Annotate flyout menu)
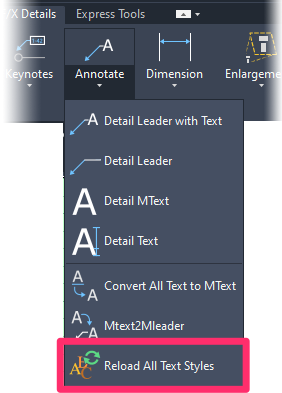
Open our Reload All Text Styles (REAT) tool to ensure that the Land F/X Text Styles in your detail match your settings from the active Preference Set.
Detail Linear Dimension (available on the Dimension flyout menu)
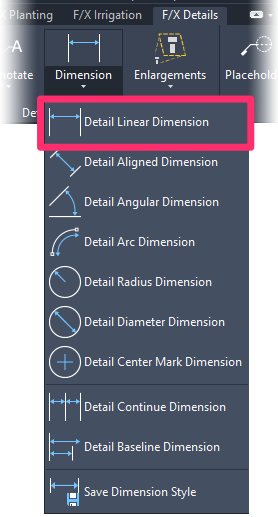
Place a vertical or horizontal dimension of a line in a detail.
Detail Aligned Dimension (available on the Dimension flyout menu)
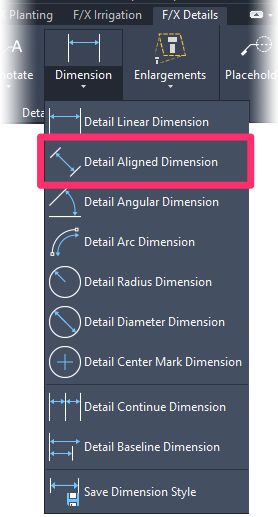
Place a dimension aligned with two points on an object you select in a detail.
Detail Angular Dimension (available on the Dimension flyout menu)

Place a dimension for an angle between two lines in a detail.
Detail Arc Dimension (available on the Dimension flyout menu)

Measure the length of an arc within a detail.
Detail Radius Dimension (available on the Dimension flyout menu)
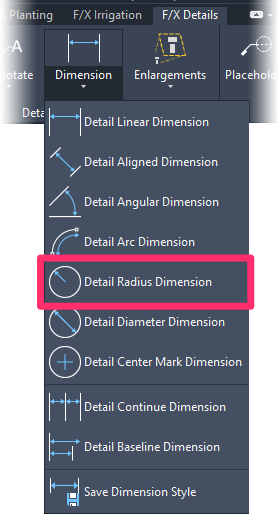
Place a dimension of the radius of a circle or arc in a detail.
Detail Diameter Dimension (available on the Dimension flyout menu)

Place a dimension of the diameter of a circle or arc in a detail.
Detail Center Mark Dimension (available on the Dimension flyout menu)

Place a center mark within a circle or arc in a detail.
Detail Continue Dimension (available on the Dimension flyout menu)

Add a dimension to the end of the last dimension placed in a detail, or continue that dimension.
Detail Baseline Dimension (available on the Dimension flyout menu)
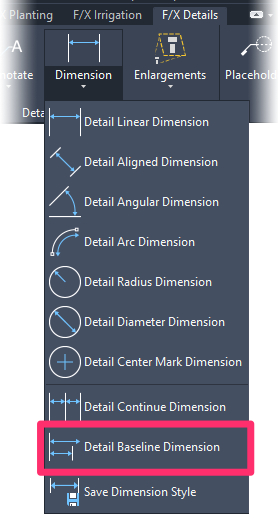
Place a new dimension originating from the beginning (baseline) of the last dimension placed in a detail.
Save Dimension Style (available on the Dimension flyout menu)
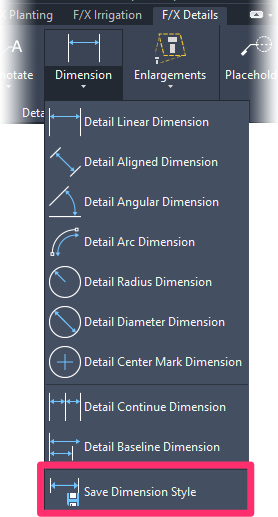
Save a Dimension Style (DimStyle) to use in details.
Polyline Detail Enlargement (available on the Enlargements flyout menu)

Use the Polyline Detail Enlargement tool to enlarge a portion of a detail and place it – to scale – within a custom polyline boundary in the same detail.
Circle Detail Enlargement (available on the Enlargements flyout menu)
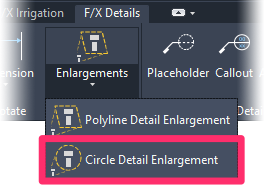
Use the Circle Detail Enlargement tool to enlarge a portion of a detail and place it – to scale – within a custom circle boundary in the same detail.
Detail Callouts Tools
Our Detail Callouts can be used to call out individual items within a detail, or to call out details you've placed in a drawing.

Placeholder Callouts
Placeholder callouts are referred to as "dumb callouts" because they're placed on a temporary basis to be associated with an actual detail at a later time. You can place them when you know you need to place a callout in a specific location but you're not sure exactly which detail will need to be called out.
Detail Callouts
Detail Callouts are "smart" callouts that refer to a specific detail.
Associate Callouts

After placing either a Placeholder or a Detail Callout in a drawing, you can use the Associate Callout tool to associate that callout with a specific detail.
Update Callouts

The Update Callouts tool comes in handy when you've placed details in a drawing and need to move those details, along with their callouts, to another location. Update Callouts updates the Detail Callouts to reflect that new location.
Callout Preview
Click this button, then click any Detail Callout to see a preview of the detail that's being called out.
Details Preferences
The Details Preferences provide several options for customizing your detail callouts and templates, as well as organizing your detail library.

Details Preferences
From the Details Preferences screen, you can configure a number of settings for your details, including callout arrow styles, template size and appearance, Dimension Style (DimStyle) settings, and the location and organization of your detail library.
The Preferences screens provide numerous options for customizing our software to meet your needs. For more information, see our Preferences documentation section. Don't forget to save your Preferences settings into a Preference Set – a central file that stores your configured settings. You can create multiple Preference Sets, depending on your needs for different projects, clients, etc.
Related Webinars
- Details for Beginners: Take a full tour of our detail system, where you’ll learn how to navigate our detail library, find the details you need, and use them in your drawing set. (1 hr 1 min)
- Getting Started with the Detail Tools: We'll show you the basic tools you need to familiarize yourself with on the F/X Details ribbon, including setting your Details Preferences. (58 min)
- Detail Tips And Tricks: Learn some advanced techniques and best practices to create details that communicate your design intent clearly, including how to batch save details. (59 min)
- Detail Workflow in a Case Study Design: Guest presenter and guru Aaron Emerson of longtime Land F/X client Mills Design Group demonstrates how his team uses our details tools by presenting a few award-winning case studies. (1 hr 7 min)
- Getting Started with the Detail Tools: We'll show you the basic tools you need to familiarize yourself with on the F/X Details ribbon, including setting your Details Preferences. (58 min)
- Detail Tips And Tricks: Learn some advanced techniques and best practices to create details that communicate your design intent clearly, including how to load a layer state, save a custom detail block, and place a detail template. (59 min)